
There is chocolate cake, and then there is this chocolate cake.
You know the kind. The one that stops conversations. The one where people close their eyes after the first bite. The one that disappears so fast you barely get a slice for yourself.
This is that cake.
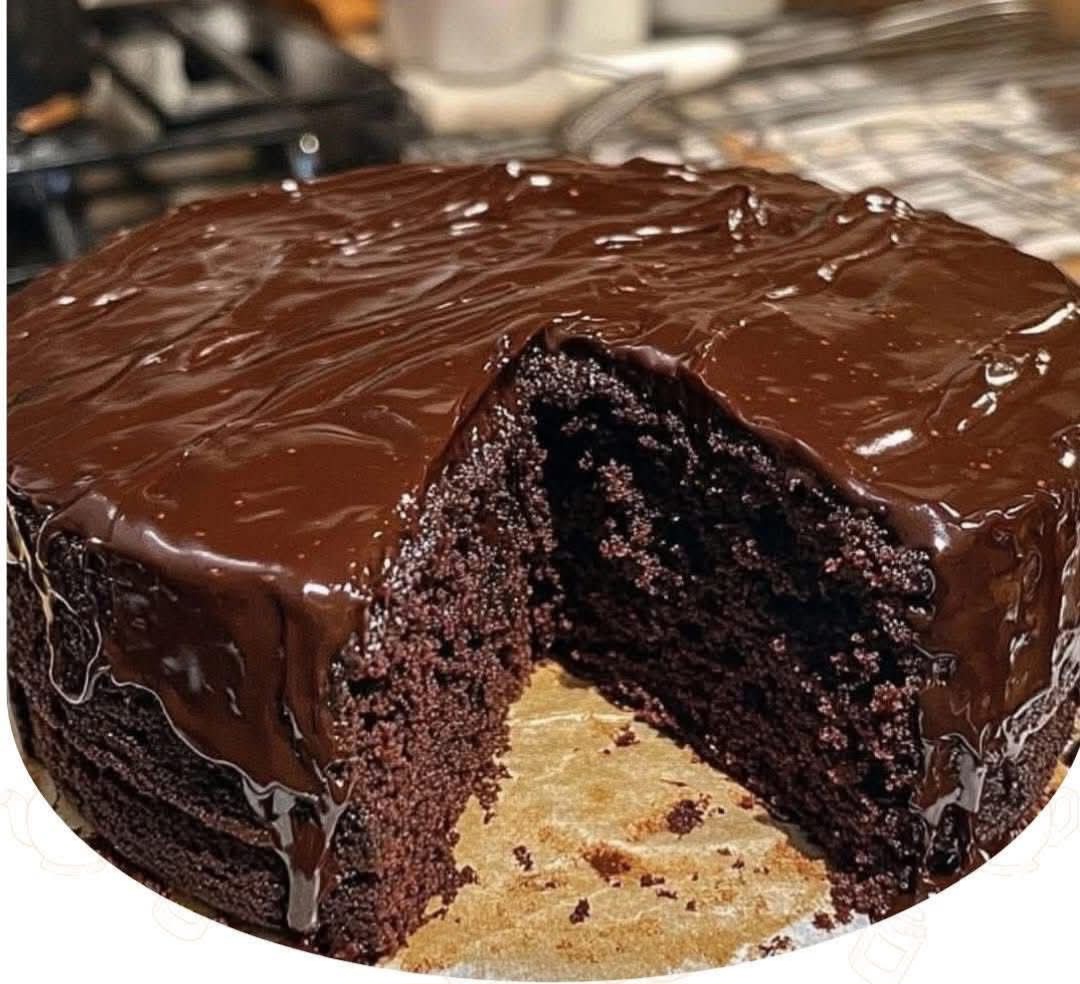
The Ultimate Moist Chocolate Fudge Cake is not just another dessert recipe. It is the answer to every dry, crumbly, disappointing chocolate cake you have ever made. It is deeply chocolatey, impossibly moist, and topped with a silky chocolate ganache that sets into a fudge-like glaze.
And here is the best part: it starts with a simple list of pantry staples and one surprising ingredient — hot coffee.
That coffee does not make the cake taste like mocha. Instead, it intensifies the chocolate flavor, deepens the color, and creates a tender crumb that stays moist for days.
Whether you are baking for a birthday, a holiday, or just a Tuesday when only chocolate will do, this recipe delivers bakery-quality results from your own kitchen.
Why This Is the Ultimate Moist Chocolate Fudge Cake
Let me be honest. I have tested dozens of chocolate cake recipes. Some were too dry. Some were too dense. Some tasted like nothing even though they used expensive cocoa.
This one is different.
Here is what makes it the ultimate:
· Incredible moisture – The combination of whole milk, vegetable oil, and hot coffee creates a batter that bakes into a supremely tender, never-dry crumb.
· Deep chocolate flavor – Boiling water or coffee “blooms” the cocoa powder, releasing flavors that stay muted in cold liquids.
· Perfect crumb structure – The balance of baking powder and baking soda gives just the right lift without being airy or spongy.
· Fudge-like ganache – A two-ingredient chocolate ganache (plus a touch of butter for shine) sets into a glossy, crackly topping that feels luxurious.
· No buttermilk required – Many moist cake recipes call for buttermilk. This one uses whole milk and gets its tenderness from oil instead.
· One-bowl easy – The cake batter comes together in a single bowl. No stand mixer needed. No creaming butter and sugar.
This is the best chocolate cake from scratch for beginners and experienced bakers alike.
The Secret Ingredient: Hot Coffee
If you have never put coffee in a chocolate cake, you might be skeptical. Will it taste like coffee? Will my kids notice?
The answer is no and no.
Hot coffee does not make the cake taste like a latte. Instead, it does three magical things:
- Enhances chocolate flavor – Coffee and chocolate share similar flavor compounds. The coffee amplifies the cocoa’s natural notes without adding its own distinct taste.
- Thins the batter – A thinner batter bakes into a lighter, more tender cake.
- Activates leavening – The heat helps the baking soda and baking powder work more efficiently.
If you do not drink coffee, you can use hot water. The cake will still be delicious. But try the coffee version once. You will never go back.
Ingredient Deep Dive: Why Each One Matters
Understanding your ingredients makes you a better baker. Here is why each component works.
All-Purpose Flour
AP flour has the right protein content (10–12%) for this cake. It provides structure without toughness. Do not substitute bread flour (too much protein) or cake flour (too little protein unless you adjust).
Granulated Sugar
Sugar does more than sweeten. It tenderizes the crumb, helps with browning, and retains moisture. Two full cups might seem like a lot, but this is a celebration cake. Reduce the sugar and you lose the fudge-like texture.
Unsweetened Cocoa Powder
Use natural cocoa powder (not Dutch-processed unless you adjust the leavening). Natural cocoa is acidic and reacts with the baking soda to create lift. Good quality cocoa makes a noticeable difference. I recommend Ghirardelli, Hershey’s Special Dark, or Droste.
Baking Powder + Baking Soda
The combination provides lift and browning. Baking soda neutralizes the cocoa’s acidity. Baking powder adds extra rise. Do not skip either one.
Salt
A full teaspoon balances the sweetness and enhances the chocolate. Do not reduce it.
Large Eggs
Eggs provide structure, richness, and emulsification. Room temperature eggs incorporate better. Set them on the counter 30 minutes before starting.
Whole Milk
The fat in whole milk creates a tender crumb. Lower-fat milks work in a pinch but will produce a slightly less moist cake.
Vegetable Oil
Oil is the moisture hero. Unlike butter, which contains water that evaporates during baking, oil stays liquid at room temperature. That is why oil-based cakes stay moist for days. Use a neutral oil like canola, vegetable, or avocado. Not olive oil.
Vanilla Extract
Vanilla rounds out the chocolate flavor. Use real vanilla extract, not imitation. The difference matters.
Hot Coffee (or Hot Water)
As explained above, this is your secret weapon.
The Chocolate Ganache: Simple, Silky, Spectacular
Many chocolate cake recipes stop at the cake itself. But the Ultimate Moist Chocolate Fudge Cake deserves an equally impressive topping.
This ganache uses only three ingredients:
· Heavy cream – The fat content (at least 36%) is crucial. Half-and-half or milk will not work.
· Semi-sweet chocolate chips – Choose good quality. Guittard, Ghirardelli, or Nestlé Toll House all work.
· Butter – A tablespoon adds shine and a silky mouthfeel.
The result is a pourable ganache that sets into a fudge-like layer. It is not too thick, not too thin. It cracks beautifully when you slice into it.
Complete Recipe: Ultimate Moist Chocolate Fudge Cake
This recipe makes one 9×13-inch sheet cake, two 9-inch round layers, or three 8-inch round layers. Baking times vary by pan.
Ingredients
For the Cake
· 1 ¾ cups all-purpose flour
· 2 cups granulated sugar
· ¾ cup unsweetened cocoa powder
· 1 ½ teaspoons baking powder
· 1 ½ teaspoons baking soda
· 1 teaspoon salt
· 2 large eggs (room temperature)
· 1 cup whole milk (room temperature)
· ½ cup vegetable oil
· 2 teaspoons vanilla extract
· 1 cup hot coffee (or hot water)
For the Chocolate Ganache
· 1 cup heavy cream
· 1 ½ cups semi-sweet chocolate chips
· 1 tablespoon butter
Directions
Step 1 – Preheat and Prepare
Preheat your oven to 350°F (175°C). Grease your chosen pan(s) thoroughly with butter or baking spray. For round pans, line the bottoms with parchment paper for easy removal.
Step 2 – Combine Dry Ingredients
In a large mixing bowl, whisk together the flour, sugar, cocoa powder, baking powder, baking soda, and salt. Whisking aerates the dry ingredients and ensures even distribution of leavening agents.
Step 3 – Add Wet Ingredients (Except Coffee)
Make a well in the center of the dry ingredients. Add the eggs, whole milk, vegetable oil, and vanilla extract. Mix with a whisk or spatula until just combined. The batter will be thick and somewhat lumpy. That is fine.
Step 4 – Add Hot Coffee
Slowly pour in the hot coffee while stirring continuously. The batter will become very thin and liquidy. This is correct. Do not panic. The thin batter is what creates a super moist cake.
Step 5 – Bake
Pour the batter evenly into your prepared pan(s).
· 9×13-inch sheet cake – Bake for 30–35 minutes.
· Two 9-inch round layers – Bake for 28–32 minutes.
· Three 8-inch round layers – Bake for 22–26 minutes.
· Cupcakes – Bake for 18–22 minutes.
The cake is done when a toothpick inserted in the center comes out clean or with just a few moist crumbs. The edges will pull away from the pan slightly, and the top will spring back when lightly touched.
Step 6 – Cool
Let the cake cool in the pan(s) on a wire rack for 15 minutes. Then turn out onto the rack to cool completely. For a sheet cake, you can leave it in the pan and glaze it directly.
Step 7 – Make the Ganache
While the cake cools, prepare the ganache.
Place the chocolate chips in a heatproof bowl. In a small saucepan, heat the heavy cream over medium heat until it just begins to simmer (small bubbles around the edge). Do not boil.
Pour the hot cream over the chocolate chips. Let it sit for 2 minutes without stirring. This allows the heat to melt the chocolate.
Add the butter. Then gently whisk in small circles until the mixture is smooth, glossy, and fully combined.
Step 8 – Glaze the Cake
Let the ganache cool for 5–10 minutes until it thickens slightly but is still pourable. Pour it over the cooled cake. Use an offset spatula to spread it evenly to the edges. For a sheet cake, let it drip down the sides. For layered cakes, spread between layers and on top.
Step 9 – Set and Serve
Allow the ganache to set at room temperature for at least 1 hour. It will firm into a fudge-like layer. Slice with a sharp knife, wiping the blade between cuts for clean edges.
Pro Tips for the Most Moist Chocolate Cake Ever
After making this cake dozens of times, I have learned a few tricks.
Use Room Temperature Ingredients
Cold eggs and cold milk can cause the batter to seize or become lumpy. Set everything on the counter 30 minutes before you start. If you forget, place the eggs in a bowl of warm water for 5 minutes and microwave the milk for 15 seconds.
Do Not Overmix
Overmixing develops gluten, which makes cake tough. Mix just until the dry ingredients disappear. A few small lumps are fine.
Weigh Your Flour
Cup measurements vary. Too much flour = dry cake. Use a kitchen scale: 1 ¾ cups all-purpose flour = 220 grams. If you do not have a scale, spoon the flour into the measuring cup and level it with a knife. Do not scoop.
Check for Doneness Early
Ovens run hot or cold. Start checking the cake 5 minutes before the minimum time. Overbaking is the #1 cause of dry cake.
Cool Completely Before Glazing
Warm cake + warm ganache = melted, runny mess. Let the cake cool to room temperature. If you are in a hurry, refrigerate for 30 minutes.
Want the full truth and the practical next steps?
Page 2 continues with the real explanation, the key details many readers skip, and the simple takeaways that make this guide more useful.