
There are brownies that are fancy, and then there are Lunch Lady Brownies – the kind of moist, fudgy, thin, crackly‑topped sheet cake brownies that have been a staple in school cafeterias, church potlucks, and family kitchens for generations. Remember those perfectly flat, intensely chocolatey squares served on little paper rectangles, with that thin, glossy icing that cracked when you bit into it? That is the magic of lunch lady brownies. They are not thick, gooey, or overly complicated. They are humble, honest, and absolutely addictive. If you are searching for a lunch lady brownies recipe that tastes exactly like the ones from your childhood, this is the one. Don’t lose this recipe!
These brownies are made in a sheet pan (9×13 or half‑sheet), so they are perfect for feeding a crowd. The batter comes together in one pot, no electric mixer needed, and the icing is a simple, pourable glaze that sets into a thin, shiny, crackly shell. They are rich, chocolatey, and impossible to eat just one. This old fashioned school cafeteria brownies recipe will become a family favorite.
In this complete guide, you will learn how to make the perfect lunch lady brownies, including pro tips for the crackly icing, delicious variations (add walnuts, chocolate chips, or a peppermint twist), storage and freezing instructions, and why these humble brownies have stood the test of time. Let’s preheat that oven.
Why Lunch Lady Brownies Are a Nostalgic Legend
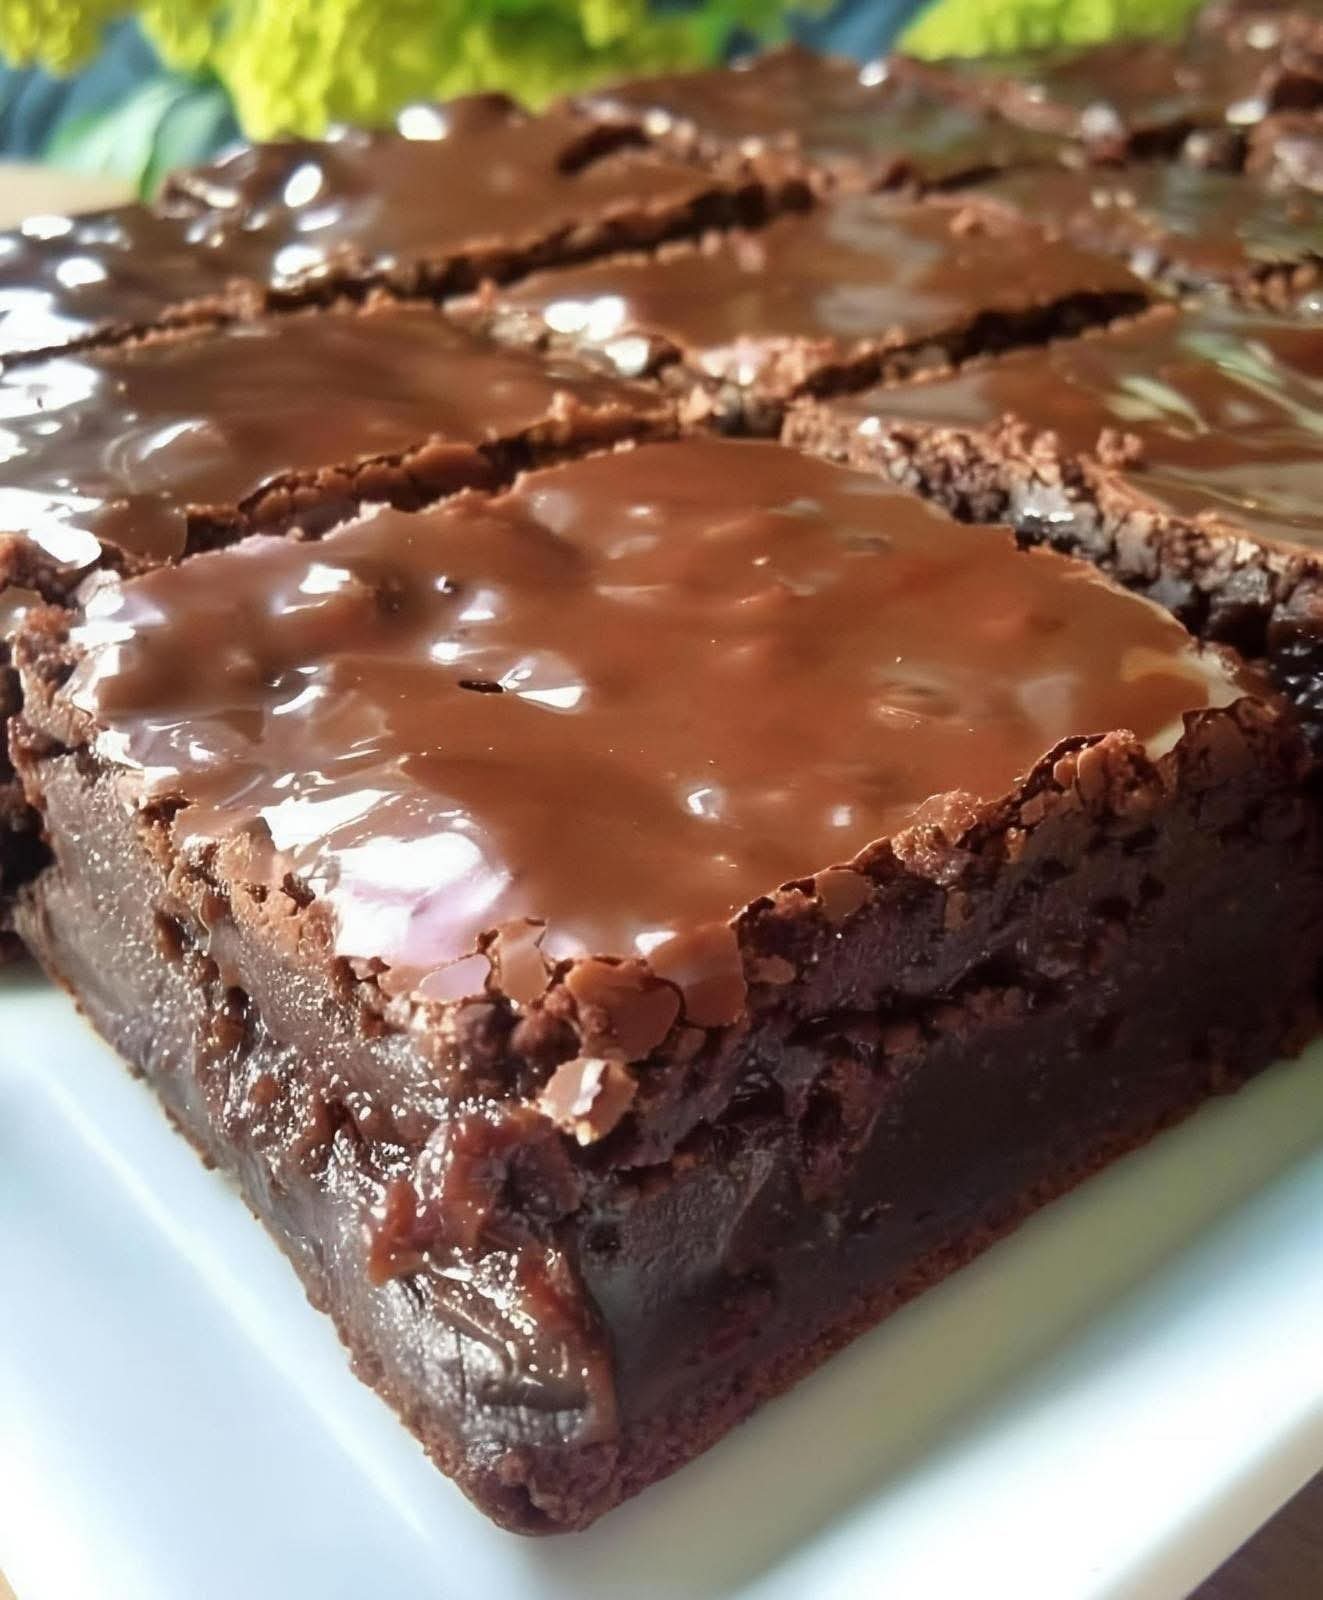
These brownies are incredibly moist and fudgy, made with simple pantry ingredients, have a thin, crackly chocolate icing that sets like glass, are perfect for feeding a crowd, and taste like pure nostalgia. Unlike thick, dense, fudgy brownies, lunch lady brownies are thin and sheet‑cake style, with a texture that is more cake‑like but still rich and chocolatey. The icing is the star – it is poured over the warm brownies and hardens into a thin, glossy, crackly shell that shatters when you bite into it. This is a vintage school cafeteria dessert that has been beloved for decades.
Here is why you will love it:
Only 20 minutes of active prep – Then bake and ice.
One pot, no mixer needed – Simple and easy.
Incredibly moist and fudgy – The perfect texture.
Thin, crackly chocolate icing – The signature finish.
Perfect for potlucks, bake sales, and family gatherings – Feeds a crowd.
Customizable – Add nuts, chocolate chips, or peppermint.
Kid‑friendly and adult‑loved – A guaranteed hit.
Once you try these homemade lunch lady brownies, you will be transported back to the school cafeteria.
The Complete Lunch Lady Brownies Recipe
This recipe makes one 9×13 inch sheet pan of brownies (about 16‑20 squares). It can easily be doubled for a half‑sheet pan.
Ingredients – For the Brownies:
1 cup (226g, 2 sticks) unsalted butter
½ cup (40g) unsweetened cocoa powder (natural or Dutch‑processed)
2 cups (400g) granulated sugar
4 large eggs
1 ½ cups (190g) all‑purpose flour
1 teaspoon salt
1 teaspoon vanilla extract
Ingredients – For the Crackly Chocolate Icing:
¼ cup (60ml) whole milk
¼ cup (57g, ½ stick) unsalted butter
2 tablespoons unsweetened cocoa powder
2 cups (240g) powdered sugar
1 teaspoon vanilla extract
Equipment:
- 9×13 inch baking pan
- Parchment paper or non‑stick spray
- Saucepan (for melting butter and cocoa)
- Mixing bowl
- Whisk
- Spatula
Step‑by‑Step Instructions
Step 1 – Preheat and Prepare the Pan
Preheat your oven to 350°F (175°C). Grease a 9×13 inch baking pan with butter or non‑stick spray, then line the bottom with parchment paper (for easy removal). Set aside.
Step 2 – Melt Butter and Cocoa
In a medium saucepan over low heat, melt the butter. Whisk in the cocoa powder until smooth. Remove from heat.
Step 3 – Add Sugar and Eggs
Add the sugar to the butter‑cocoa mixture and stir to combine. Add the eggs one at a time, whisking well after each addition. Add the vanilla extract.
Step 4 – Add Dry Ingredients
Add the flour and salt, stirring just until combined. Do not overmix. The batter will be thick.
Step 5 – Bake
Pour the batter into the prepared pan and spread evenly. Bake at 350°F for 20‑25 minutes, until a toothpick inserted in the center comes out clean or with a few moist crumbs. Do not overbake – the brownies should be moist. Let the brownies cool in the pan for 5‑10 minutes while you make the icing.
Step 6 – Make the Crackly Icing
In a small saucepan, combine the milk, butter, and cocoa powder. Heat over medium heat, stirring constantly, until the butter is melted and the mixture is smooth. Remove from heat. Whisk in the powdered sugar and vanilla until smooth and glossy. The icing should be thick but pourable.
Step 7 – Ice the Brownies
Pour the warm icing over the warm brownies. Spread it evenly with a spatula. The icing will set as it cools into a thin, crackly, shiny shell. Let the brownies cool completely in the pan before slicing.
Step 8 – Slice and Serve
Cut into squares. Use a sharp knife, wiping the blade between cuts for clean edges. Serve at room temperature.
Pro Tips for the Best Lunch Lady Brownies
Follow these expert tips for perfect sheet pan brownies every time:
Do not overbake – The brownies should be moist. A toothpick should have a few moist crumbs, not be completely clean.
Ice the brownies while they are still warm – This allows the icing to melt slightly and create that signature thin, crackly shell.
Use good quality cocoa powder – The chocolate flavor is key. Dutch‑processed cocoa gives a smoother, darker flavor.
Let the icing set completely before slicing – If you slice too soon, the icing will be soft and sticky.
For a thicker brownie, use an 8×8 pan – Increase baking time to 30‑35 minutes.
Store in an airtight container – These brownies stay moist for days.
Double the recipe for a crowd – Use a half‑sheet pan (18×13) and double all ingredients.
Want the full truth and the practical next steps?
Page 2 continues with the real explanation, the key details many readers skip, and the simple takeaways that make this guide more useful.