
Learn how to can cheese at home! I pressure‑canned 16 pints of Colby and cheddar from a 15lb block for only $9.99. Step‑by‑step guide, safety tips, and storage advice.
Let me tell you about the day I turned a giant block of cheese into a year’s worth of shelf‑stable goodness.
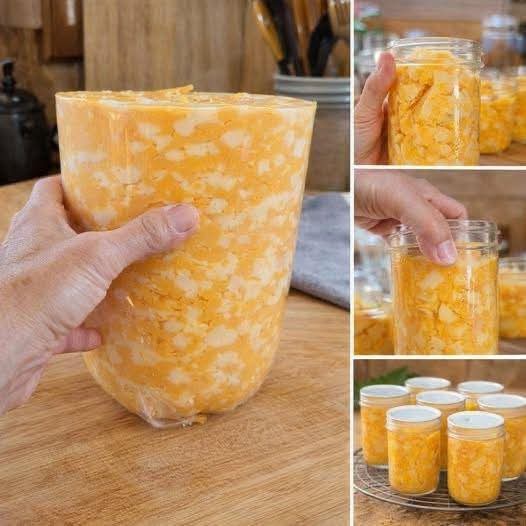
I walked into my local grocery store and saw a 15‑pound block of cheese marked down to $9.99. It was a mix of Colby and cheddar—a cheesemaker’s treasure. But I knew I couldn’t use that much cheese before it spoiled. Then I remembered a technique I’d seen: pressure canning cheese. Could I preserve it? I decided to try.
A few hours later, I had 16 pints of perfectly canned cheese sitting on my pantry shelf. No refrigeration needed. The texture changed slightly—it became creamier, almost spreadable—but the flavor was rich and delicious. Now I can enjoy high‑quality cheese for months without worrying about waste or refrigerator space.
In this guide, I’ll walk you through exactly how to can cheese at home, including the equipment you need, step‑by‑step instructions, safety considerations, and tips for using your canned cheese. Whether you score a bulk deal or just want to stock up, this method is a game‑changer.
Why Can Cheese?
Save Money
Buying cheese in bulk can be incredibly cost‑effective. A 15‑pound block for $9.99 is less than $0.70 per pound—far cheaper than retail. Canning allows you to take advantage of these deals without waste.
Long‑Term Storage
Properly pressure‑canned cheese can be stored at room temperature for up to a year or more. It frees up precious refrigerator space and gives you a ready‑to‑use ingredient.
Convenience
Having shelf‑stable cheese means you always have it on hand for recipes, snacks, or emergency supplies.
Texture & Flavor
Canned cheese becomes very soft and spreadable—almost like a cheese spread or pub cheese. It’s perfect for crackers, sandwiches, or melting into dishes.
Important Safety Note: Pressure Canning Only
Water bath canning is NOT safe for cheese. Cheese is a low‑acid food (pH above 4.6), which means it requires the high temperatures of a pressure canner to kill harmful bacteria like Clostridium botulinum. Never attempt to can cheese using a boiling water bath.
Follow USDA‑recommended pressure canning guidelines. Always use a tested recipe and method. This recipe is based on the National Center for Home Food Preservation guidelines for canning cheese.
Ingredients & Equipment
Ingredients
· Fresh, high‑quality cheese (Colby, cheddar, or a mix). Use blocks, not pre‑shredded (shredded cheese often contains anti‑caking agents that can affect texture).
· Salt (optional) – for seasoning; not required for preservation.
· Optional: spices, herbs, or jalapeños for flavored cheese.
Equipment
· Pressure canner (with a gauge, either weighted or dial)
· Canning jars – pint or half‑pint jars work best. I used 16 pint jars.
· New lids and rings
· Jar lifter
· Large pot for heating cheese (double boiler works well)
· Knife or cheese cutter
· Funnel (wide‑mouth for easier filling)
· Spatula or bubble remover
· Clean kitchen towels
Step‑by‑Step Instructions
Step 1: Prepare Your Equipment
Wash jars, lids, and rings in hot soapy water. Rinse well. Keep jars hot until ready to fill (you can place them in the canner with a little water to warm).
Step 2: Cut the Cheese
Cut the cheese into small cubes or thin slices. This helps it melt quickly and pack evenly. I used a large chef’s knife to cube my 15‑pound block.
Step 3: Melt the Cheese
Place the cubed cheese in a large pot or double boiler. Heat gently over low to medium heat, stirring frequently. The cheese will slowly melt into a thick, creamy liquid. Avoid high heat to prevent scorching.
Tip: If you want to add flavors (like garlic powder, smoked paprika, diced jalapeños, or herbs), stir them in while the cheese is melting.
Step 4: Fill Jars
Using a ladle and a wide‑mouth funnel, carefully fill hot jars with the melted cheese. Leave about 1 inch of headspace. The cheese will be very thick, so work quickly while it’s still hot.
Step 5: Remove Air Bubbles
Run a non‑metallic spatula or bubble remover around the inside of the jar to release trapped air bubbles. Adjust headspace if needed.
Step 6: Wipe Rims and Seal
Wipe the jar rims with a clean, damp cloth to remove any residue. Place lids and rings on jars, tightening until fingertip‑tight.
Step 7: Pressure Can
Place jars in the pressure canner with the recommended amount of water (usually 2–3 inches). Follow your canner’s instructions.
· Processing time: For pints, process at 10 pounds of pressure for 75 minutes (adjust for altitude).
· Altitude adjustment: If you live above 1,000 feet, increase pressure accordingly (add 1 pound per 1,000 feet for dial gauges; for weighted gauges, use the next weight).
Step 8: Cool and Store
After processing, turn off the heat and let the pressure drop naturally. Remove the lid and let jars cool for 10 minutes before removing them from the canner. Place on a towel to cool completely, undisturbed, for 12–24 hours. Check seals—lids should be concave and not flex. Store sealed jars in a cool, dark place.
What to Expect: Texture and Flavor
Canned cheese will not have the same firm texture as fresh cheese. It becomes very soft, almost like a creamy cheese spread or pub cheese. The flavor remains rich and sharp. It’s perfect for:
· Spreading on crackers or bread
· Melting into sauces, soups, or macaroni and cheese
· Using in grilled cheese sandwiches
· Adding to casseroles or baked dishes
The convenience of having shelf‑stable cheese far outweighs the textural change for many home cooks.
Pro Tips for Successful Cheese Canning
- Use High‑Quality Cheese
The final product is only as good as what you start with. Avoid cheese with additives or fillers.
- Keep Cheese Hot When Filling
Melted cheese can start to solidify quickly. Work in small batches if needed, or keep the pot over very low heat while filling jars.
- Don’t Skimp on Headspace
Leave a full inch. The cheese expands slightly during processing.
- Label Everything
Write the date and type of cheese on each lid. It’s easy to forget what’s what months later.
- Let Cheese Age
Canned cheese often improves after sitting for a few weeks, allowing flavors to meld.
How to Use Canned Cheese
As a Spread
Simply open a jar and use it as a spread on crackers, bagels, or sandwiches. It’s fantastic with a sprinkle of paprika or fresh herbs.
In Cooking
Add it to soups, chowders, or sauces. It melts beautifully. For mac and cheese, stir in a jar of canned cheddar for an ultra‑creamy sauce.
Grilled Cheese
Spread it on bread and grill. The cheese melts evenly and becomes wonderfully gooey.
Cheese Balls or Dips
Mix with cream cheese, spices, and nuts to create a party cheese ball.
Storage and Shelf Life
· Unopened jars: Store in a cool, dark pantry for up to 1 year. Always check seals before use.
· Opened jars: Refrigerate after opening and use within 2–3 weeks (like any opened cheese product).
Frequently Asked Questions (FAQs)
Q: Is it safe to can cheese at home?
A: Yes, when done correctly with a pressure canner. It is not safe to water bath can cheese. Always follow tested guidelines.
Q: Can I can other cheeses?
A: Many semi‑hard cheeses like cheddar, Colby, Gouda, and Monterey Jack work well. Soft cheeses (like brie) are not recommended.
Q: Why did my cheese separate?
A: Separation can occur if the cheese was overheated or processed at too high a pressure. Follow time and pressure guidelines carefully.
Q: Can I can cheese with added ingredients like jalapeños?
A: Yes! Stir in diced jalapeños, herbs, or spices before filling jars. Do not add anything that could interfere with pH safety (e.g., tomatoes, which are acidic, are fine).
Q: How do I know if a jar has sealed properly?
A: The lid should be concave (curved downward) and not pop up when pressed. If a jar hasn’t sealed, refrigerate and use within a few weeks.
Q: Can I use a water bath instead?
A: Absolutely not. Cheese is low‑acid and must be pressure canned to prevent botulism.
Nutritional Information
Per 1‑ounce serving of canned cheddar (approximately 2 tablespoons)
Nutrient Amount
Calories ~110
Protein 7g
Fat 9g
Carbohydrates 0g
Calcium 15% DV
Values vary by cheese type.
Conclusion
Canning cheese is a fantastic way to preserve bulk buys, reduce waste, and stock your pantry with a versatile ingredient. When I found that 15‑pound block for $9.99, I knew I had to try it. Now I have 16 pints of creamy, delicious Colby‑cheddar spread ready to use for months.
If you’re new to pressure canning, this is a satisfying project that yields immediate results. Just remember: always use a pressure canner, follow safety guidelines, and enjoy the fruits (or cheeses) of your labor.
Have you ever canned cheese? What’s your favorite way to use it? Share your tips in the comments below!
And if you’re looking for more home preservation ideas, check out our guides for Canning Chicken, Pressure Canning Soup, and Freezing Cheese.
Happy canning! 🧀✨
Did you can cheese after reading this? We’d love to see your jars! Leave a comment below and share your photos. Don’t forget to pin this recipe for your next bulk buy.
More Recipes You Might Like
-
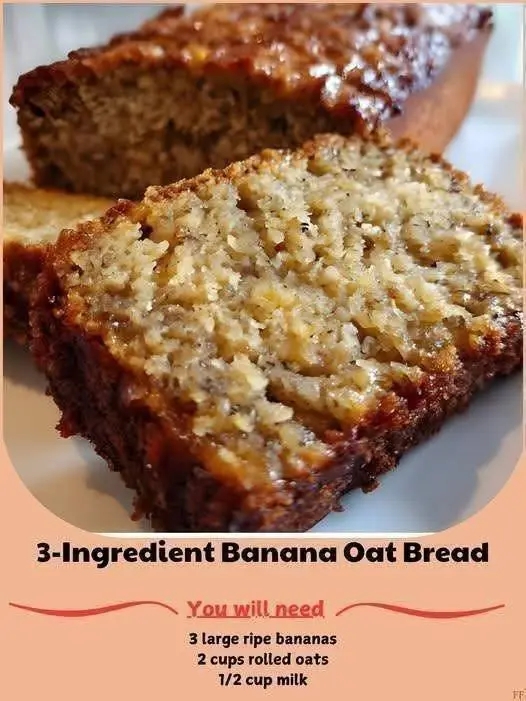
3 Ingredient Banana Oat Bread – The Easiest, Healthiest Loaf You’ll Ever Make
Just bananas, oats, and milk – no flour, no sugar, no fuss. This naturally sweet, wholesome bread is vegan, gluten‑free, and ready in under an hour. If there’s one recipe that proves healthy eating doesn’t have to be complicated, it’s this 3‑Ingredient Banana Oat Bread. With just ripe bananas, rolled oats, and milk – plus…
-
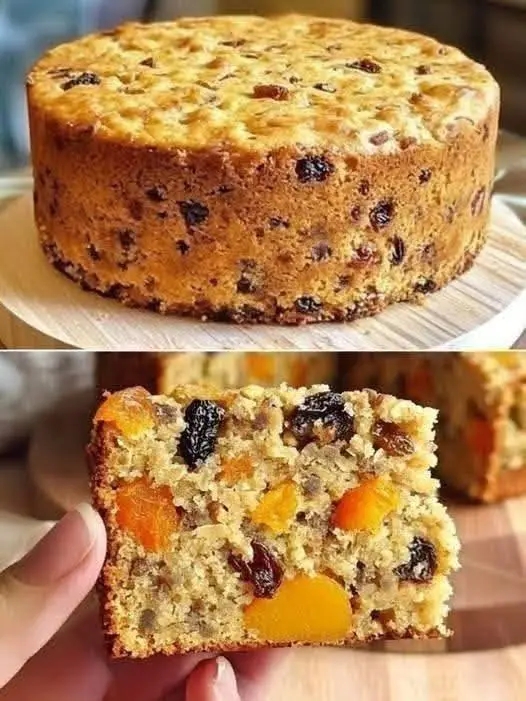
No Sugar No Flour Carrot And Apricot Oatmeal Bake – Your New Clean‑Eating Breakfast
A wholesome, naturally sweetened baked oatmeal that’s packed with fibre, vitamins, and real-food goodness – no refined sugar, no flour, and zero guilt. If you’re looking for a breakfast that actually fuels your body without the sugar crash or the bloating of refined flour, this Oatmeal, Apple and Carrot Bake is about to become your…
-
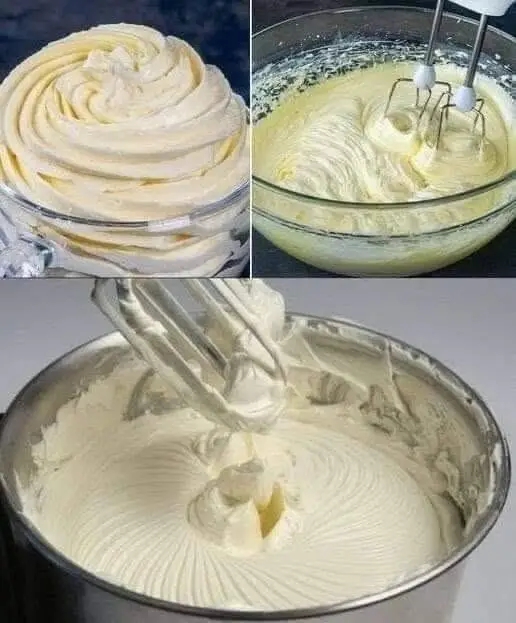
3 Ingredient Sugar Free Cheesecake Fluff – Your Guilt‑Free Treat
Thick, creamy, and perfectly pipeable – this zero‑sugar, low‑carb fluff tastes like a gourmet cheesecake in a bowl. Ready in 5 minutes, it’s the ultimate way to stay on track without feeling deprived. 22 days with no sweets – that’s a massive win! The early cravings are always the hardest, so finding a 3‑ingredient hack…