
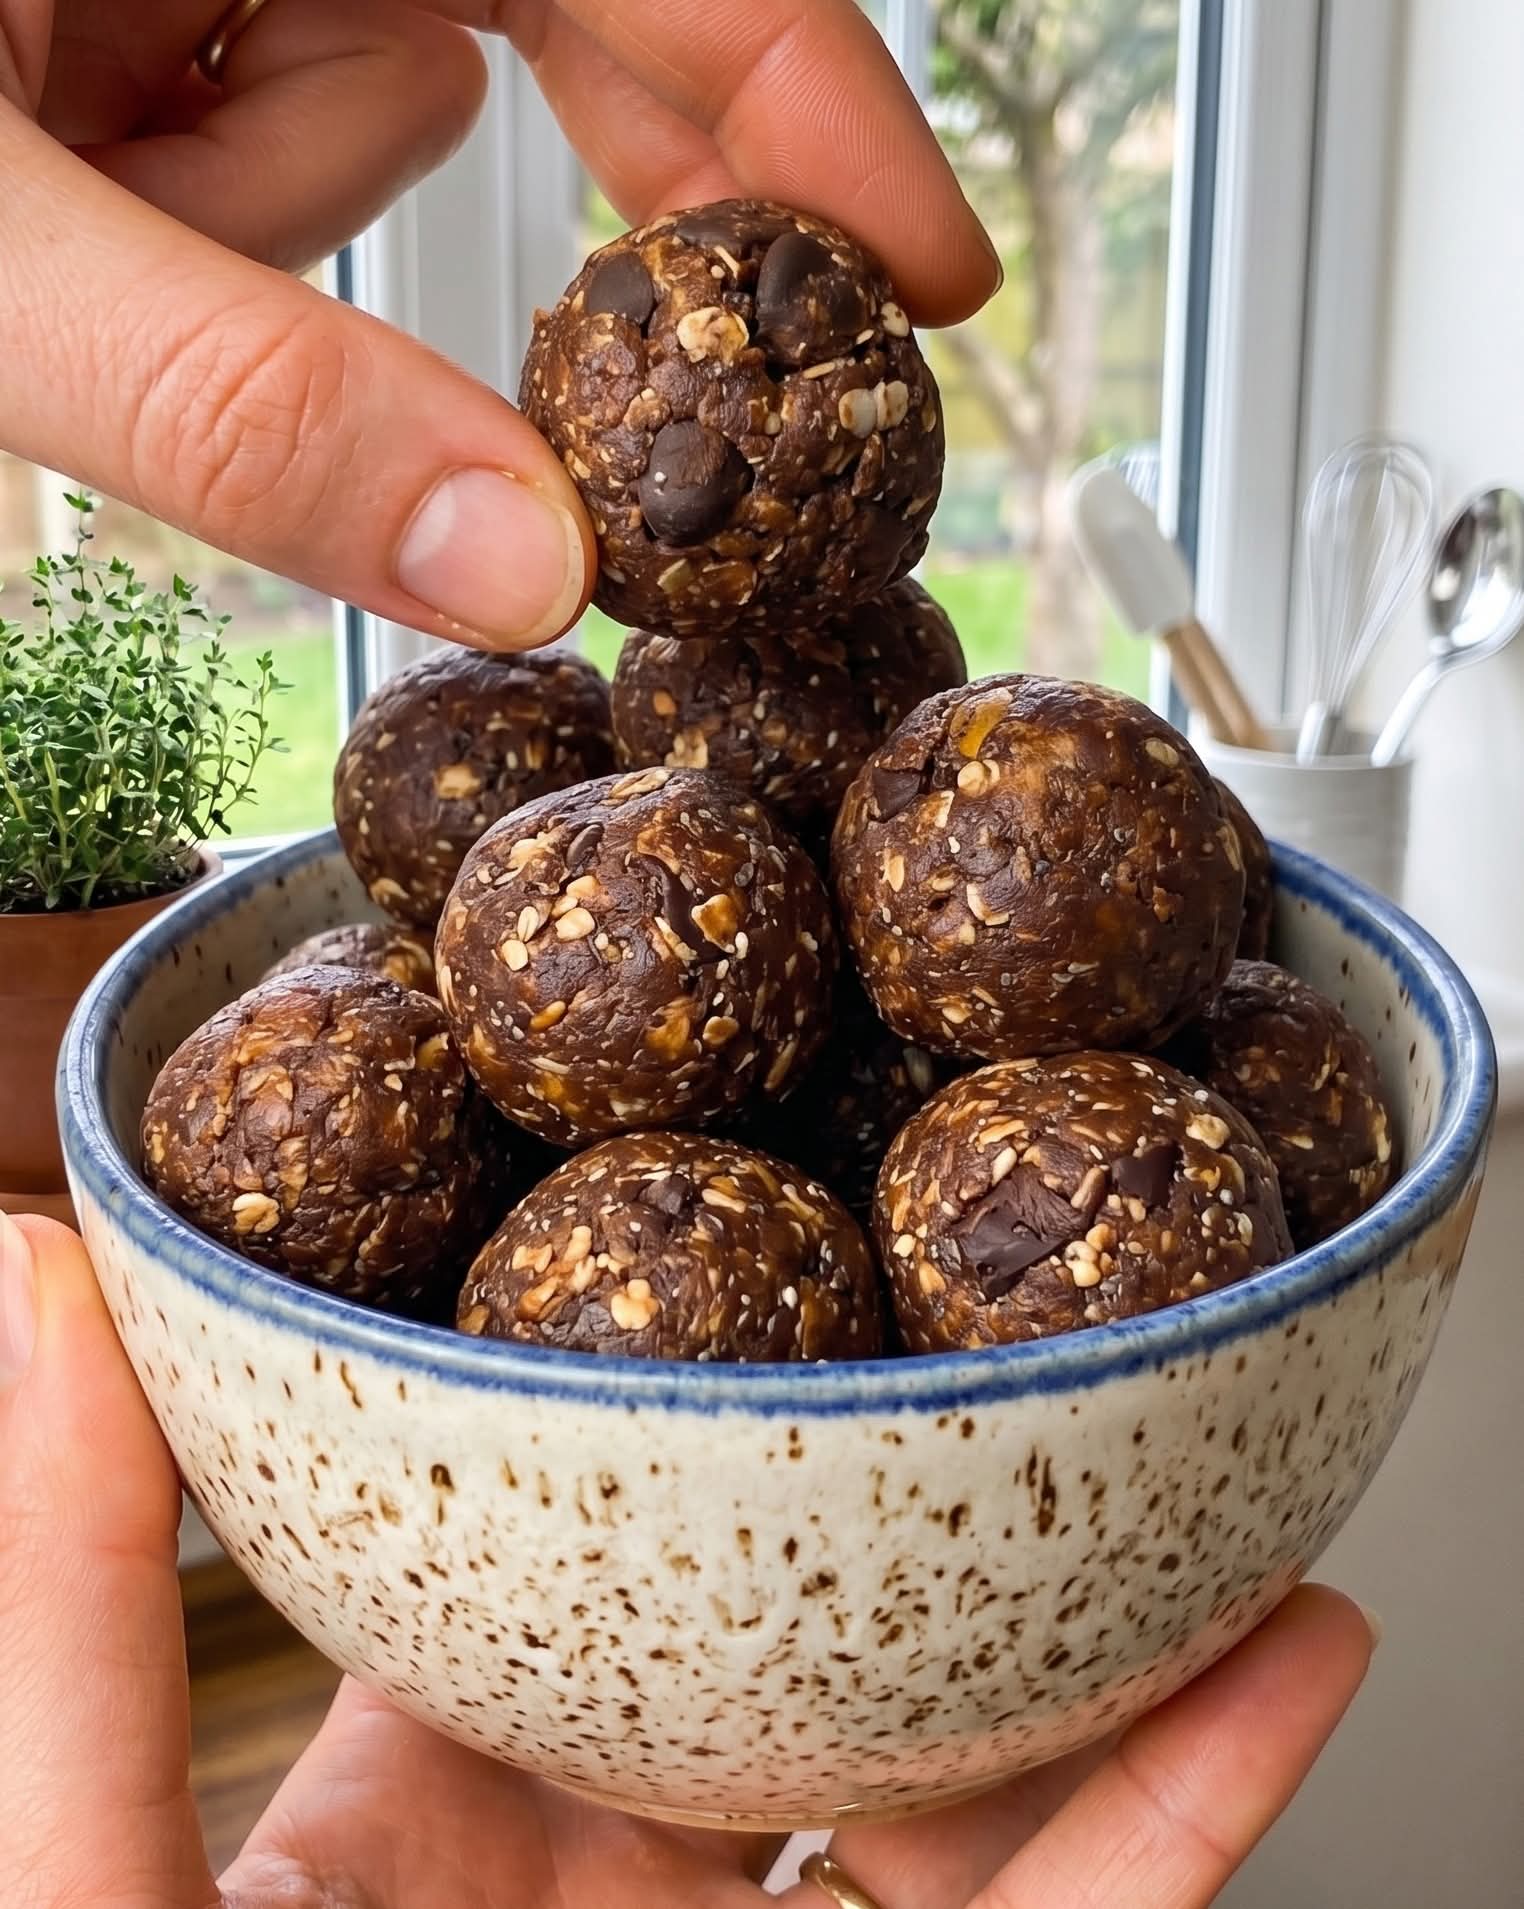
There are snacks that are healthy, and then there are snacks that taste like dessert – and these Cacao Protein Balls are both. Chocolatey, soft, naturally sweet, and packed with protein, these no‑bake bites are the perfect healthy snack for busy days, post‑workout cravings, or late‑night chocolate fixes. Made with wholesome ingredients like rolled oats, peanut butter, cacao powder, protein powder, and dark chocolate chips, they come together in minutes and require no baking. Whether you need a quick energy boost before the gym, a satisfying afternoon pick‑me‑up, or a guilt‑free treat to satisfy your sweet tooth, these protein balls deliver. If you are searching for a homemade protein ball recipe that is easy, customizable, and absolutely delicious, this is the one.
These cacao protein balls are naturally gluten‑free (use certified oats), can be made dairy‑free or vegan, and are packed with fiber, healthy fats, and protein. They are perfect for meal prep – make a batch on Sunday and grab one whenever hunger strikes. This no bake chocolate protein snack will become a staple in your kitchen.
In this complete guide, you will learn how to make the perfect cacao protein balls, including pro tips for the ideal texture, delicious variations (add espresso powder, coconut, or almond butter), storage and freezing instructions, and why this simple recipe is a game‑changer for healthy snacking. Let’s get rolling.
Why These Cacao Protein Balls Are a Snack‑Time Hero
These protein balls are no‑bake and ready in 15 minutes, packed with protein and fiber to keep you full, naturally sweetened with honey or maple syrup, made with simple, wholesome ingredients, customizable with your favorite add‑ins, and perfect for meal prep, post‑workout fuel, or on‑the‑go snacking. The combination of oats, peanut butter, cacao, and protein powder creates a dense, fudgy, satisfying bite that tastes like a chocolate truffle but fuels your body like a sports bar. No weird ingredients, no refined sugar, no baking required. This is a high protein healthy snack that you will actually look forward to eating.
Here is why you will love it:
Only 15 minutes of active prep – Then chill and enjoy.
No oven, no baking – Perfect for hot days or small kitchens.
Incredibly fudgy and chocolatey – Satisfies even the strongest sweet tooth.
Packed with protein and fiber – Keeps you full for hours.
Customizable – Add coconut, nuts, espresso, or different nut butters.
Great for meal prep – Stays fresh for weeks in the fridge or freezer.
Kid‑friendly and adult‑loved – Tastes like dessert, eats like fuel.
Once you try these easy no bake protein balls, you will never buy expensive store‑bought protein snacks again.
The Complete Cacao Protein Balls Recipe
This recipe makes about 20‑25 balls (1‑inch each). It can easily be doubled.
Ingredients:
1 cup (90g) rolled oats (use certified gluten‑free if needed)
½ cup (120g) peanut butter or almond butter – creamy or crunchy
¼ cup (85g) honey or maple syrup – maple syrup for vegan option
2 tablespoons cacao powder (or unsweetened cocoa powder)
¼ cup (30g) protein powder – chocolate or vanilla (whey, plant‑based, or collagen)
2 tablespoons chia seeds or flaxseed – for fiber and omega‑3s
¼ cup (45g) dark chocolate chips – sugar‑free optional
1 teaspoon vanilla extract
Optional: pinch of sea salt, shredded coconut, chopped nuts
Equipment:
Large mixing bowl
Rubber spatula or wooden spoon
Measuring cups and spoons
Baking sheet or plate lined with parchment paper
Small cookie scoop or spoon
Step‑by‑Step Instructions
Step 1 – Combine Dry Ingredients
In a large mixing bowl, combine the rolled oats, cacao powder, protein powder, chia seeds (or flaxseed), and dark chocolate chips. Stir with a spatula to evenly distribute the ingredients. If you are using optional add‑ins like shredded coconut or chopped nuts, add them now.
Step 2 – Add Wet Ingredients
Add the peanut butter (or almond butter), honey (or maple syrup), and vanilla extract to the dry mixture. Stir vigorously with a spatula or spoon until everything is fully combined and a thick, sticky dough forms. The mixture should hold together when pressed between your fingers. If the mixture feels too dry, add 1‑2 teaspoons of milk (dairy or plant‑based). If it is too sticky, add a little more oats or protein powder.
Step 3 – Roll into Balls
Scoop about 1 tablespoon of the dough and roll it between your palms into a smooth, round ball. Place the ball on a parchment‑lined baking sheet or plate. Repeat with the remaining dough. You should get about 20‑25 balls.
Step 4 – Chill
Refrigerate the protein balls for 20‑30 minutes, until firm. Chilling helps them hold their shape. You can also eat them immediately – they will be softer but still delicious.
Step 5 – Store and Enjoy
Once chilled, transfer the balls to an airtight container. Store in the refrigerator for up to 1 week, or in the freezer for up to 2 months. Enjoy straight from the fridge or at room temperature.
Pro Tips for the Best Cacao Protein Balls
Follow these expert tips for perfect homemade protein energy balls every time:
Use natural, drippy nut butter – Natural peanut butter (with oil on top) works best. Stir it well before using. If your nut butter is too stiff, microwave it for 10‑15 seconds to soften.
Choose a protein powder you enjoy – The flavor of the balls depends heavily on your protein powder. Chocolate whey gives a rich, fudgy taste; vanilla is more versatile; plant‑based proteins may be slightly drier (add an extra teaspoon of honey or milk).
Add a pinch of sea salt – Salt enhances the chocolate flavor and balances the sweetness. Highly recommended.
Use a cookie scoop for uniform size – A #70 or #60 scoop (about 1 tablespoon) makes perfectly even balls.
Wet your hands slightly to prevent sticking – If the dough is sticky, moisten your palms with a little water before rolling.
Let the dough rest before rolling – If the mixture is too sticky to handle, refrigerate it for 10‑15 minutes before rolling.
Freeze for a firmer texture – These balls are delicious frozen – they become like mini chocolate truffles.
Delicious Variations (Same Base Recipe)
Once you master the classic cacao protein balls, try these fun twists. These protein ball variations will keep your snack drawer exciting.
Want the full truth and the practical next steps?
Page 2 continues with the real explanation, the key details many readers skip, and the simple takeaways that make this guide more useful.