

There are some recipes that are more than just instructions on a page. They’re memories. They’re love. They’re connections to people we’ve loved and lost, to kitchens where we learned to cook, to tables where we gathered and laughed and made a life together.
This sponge cake is one of those recipes for me.
My grandmother made this cake throughout my childhood. It was her go-to for everything—Sunday dinners, birthday celebrations, afternoon coffee with neighbors, comfort on difficult days. The smell of it baking could pull me from the farthest corner of the house, drawing me to her kitchen where I knew a warm slice with a glass of cold milk would be waiting.
When she was diagnosed with diabetes later in life, she didn’t want to give up her beloved cake. So she did what grandmothers do best—she adapted. She tweaked, experimented, and perfected until she had a version that was just as delicious as the original but safe for her to enjoy. This recipe is the result of her love, her determination, and her refusal to let dietary restrictions rob her of life’s simple pleasures.
Today, I’m sharing her recipe with you. It’s a diabetic-friendly sponge cake that’s light, airy, and absolutely delicious. It’s practical enough for everyday baking but special enough for celebrations. And it carries with it all the love of a grandmother who believed that everyone deserves a little sweetness in their lives.
Why This Diabetic Sponge Cake Is So Special
Family-tested for generations. This recipe has been in our family for decades, perfected through countless batches and happy eaters.
Diabetic-friendly without sacrificing flavor. My grandmother refused to believe that “healthy” had to mean “tasteless.” This cake proves she was right.
Light and airy texture. A true sponge cake should be feather-light, and this one delivers. It’s the perfect canvas for fresh berries, sugar-free whipped cream, or just a dusting of sweetener.
Simple ingredients. Nothing fancy, nothing hard to find. Just good, honest ingredients that come together to create something wonderful.
Versatile. Serve it plain, with fruit, with a sugar-free glaze, or as the base for a trifle. It adapts to any occasion.
Practical for everyday baking. It comes together quickly and doesn’t require special equipment or techniques.
A connection to the past. Every time I make this cake, I feel close to my grandmother. I hope it brings you that same warmth.
The Story Behind the Recipe
My grandmother learned to bake from her mother, who learned from hers. The original sponge cake recipe was a simple one—eggs, sugar, flour, a touch of vanilla. It was the cake of her youth, the one she made when times were good and when times were hard.
When diabetes entered her life, her doctor told her she needed to cut sugar. My grandmother nodded politely, then went home and figured out how to keep her cake. She experimented with different sweeteners, different ratios, different techniques. Some batches failed spectacularly—she’d laugh telling stories about the cakes that collapsed, the ones that tasted strange, the ones that nobody would eat.
But she persisted. And eventually, she created this version.
She’d serve it with pride, watching the faces of her family as they took their first bites. When someone would compliment it, she’d smile and say, “It’s the same cake, just a little different. Still made with love.”
That’s the line I think about every time I make it. Still made with love. No matter the ingredients, no matter the adaptations, love is the constant.
The Complete Ingredient Breakdown
For the Cake:
6 large eggs, separated
Eggs are the heart of a sponge cake. They provide structure, lift, and that characteristic light, airy texture. Separating them and whipping the whites separately is the secret to the cake’s height and fluffiness.
Room temperature eggs whip more easily and to a greater volume. Take them out of the refrigerator about an hour before baking.
1 cup granulated sweetener of choice
For a diabetic-friendly cake, you need a sugar substitute that measures like sugar and behaves similarly in baking. Here are your best options:
· Erythritol-based sweeteners (like Swerve): These measure cup-for-cup like sugar and have no impact on blood sugar. They’re my top recommendation for this recipe.
· Allulose: Another excellent option that behaves very similarly to sugar in baking. It caramelizes beautifully.
· Monk fruit sweetener: Look for a blend that measures cup-for-cup like sugar. Pure monk fruit is intensely sweet, so blends work better here.
· Stevia blends: Stevia mixed with erythritol or other bulk sweeteners can work well.
What to avoid: Pure liquid stevia or other concentrated sweeteners won’t provide the bulk needed for proper cake structure.
1 cup all-purpose flour
Regular all-purpose flour works beautifully. For a lighter texture, you can substitute ¼ cup of the flour with cornstarch. This was one of my grandmother’s tricks for an especially tender crumb.
1 teaspoon baking powder
Provides a little extra lift to ensure a light, airy texture.
¼ teaspoon salt
Essential for balancing flavors. Don’t skip it.
1 teaspoon vanilla extract
Adds warmth and depth. Use real vanilla extract for the best flavor.
Zest of 1 lemon (optional)
My grandmother sometimes added lemon zest for brightness. It’s not essential, but it’s lovely.
For Serving (Optional):
· Sugar-free powdered sugar for dusting
· Fresh berries (strawberries, raspberries, blueberries)
· Sugar-free whipped cream
· Sugar-free fruit compote
Step-by-Step Instructions
Step 1: Preheat and Prep
Preheat your oven to 350°F (175°C). Grease a 9-inch round cake pan thoroughly, then line the bottom with parchment paper. Do not flour the sides—the batter needs to climb as it rises.
Step 2: Separate the Eggs
Separate the eggs carefully, placing the whites in a large, clean bowl (preferably metal or glass) and the yolks in another bowl. Make sure no trace of yolk gets into the whites, and that your bowl and beaters are completely clean and grease-free. Any fat will prevent the whites from whipping properly.
Let the egg whites come to room temperature if they’re cold—this takes about 30 minutes.
Step 3: Combine Dry Ingredients
In a small bowl, whisk together the flour, baking powder, and salt. This ensures the baking powder is evenly distributed.
Step 4: Beat the Yolks with Sweetener
In a large bowl, beat the egg yolks with an electric mixer until they’re pale and thick, about 3-4 minutes. Gradually add half of the sweetener (about ½ cup) and continue beating until the mixture is light and ribbony.
Beat in the vanilla extract and lemon zest if using.
Step 5: Whip the Egg Whites
In the clean bowl with the egg whites, using clean beaters, beat on medium speed until foamy. Gradually add the remaining sweetener, continuing to beat until stiff, glossy peaks form. This means when you lift the beater, the peaks stand straight up without drooping.
This step is crucial—properly whipped egg whites are what give this cake its height and light texture.
Step 6: Fold Everything Together
This is the most delicate step. Add about one-third of the whipped egg whites to the yolk mixture and fold gently with a rubber spatula to lighten the batter. Don’t worry about being too gentle here—this first addition is meant to loosen things up.
Sprinkle about one-third of the flour mixture over the batter and fold gently until just combined.
Alternate adding the remaining egg whites and flour mixture, folding gently after each addition until no streaks remain. Be careful not to deflate the whites—you want to keep as much air as possible.
Step 7: Transfer to Pan
Gently pour the batter into your prepared pan and spread evenly. Tap the pan gently on the counter a few times to release any large air bubbles.
Step 8: Bake
Bake at 350°F for 25-30 minutes, until the cake is golden brown and springs back when lightly touched. A toothpick inserted in the center should come out clean.
Do not open the oven door during the first 20 minutes of baking—the sudden temperature change can cause the cake to collapse.
Step 9: Cool in the Pan
Let the cake cool in the pan on a wire rack for 10-15 minutes. The cake may pull away from the sides slightly as it cools.
Step 10: Remove from Pan
Run a thin knife around the edges to loosen, then invert the cake onto the wire rack. Remove the parchment paper and let cool completely right-side up.
Step 11: Serve
Once completely cool, dust with sugar-free powdered sugar if desired. Slice with a serrated knife using a gentle sawing motion to preserve the delicate crumb.
Serve with fresh berries and sugar-free whipped cream for a truly special treat.
The Science Behind Perfect Sponge Cake
Separated eggs: Whipping the egg whites separately creates a stable foam that provides lift and lightness. The yolks add richness and help create a tender crumb.
Room temperature eggs: Cold eggs don’t whip as well. Room temperature whites achieve greater volume and create a more stable foam.
Clean bowl and beaters: Any trace of fat or yolk in the whites will prevent them from whipping properly. Start with perfectly clean equipment.
Gentle folding: The goal is to combine the mixtures without deflating the whipped whites. A gentle hand and a spatula are essential.
Don’t open the oven: The sudden temperature change can cause the delicate structure to collapse. Resist the urge to peek.
Troubleshooting Common Issues
My Cake Didn’t Rise
Several possible causes:
· Egg whites weren’t whipped enough (should be stiff peaks)
· Egg whites were deflated during folding
· Baking powder was old
· Oven door was opened too early
My Cake Collapsed
This usually happens when the cake is underbaked or cooled too quickly. Make sure it’s fully baked (test with a toothpick) and cool gradually.
My Cake Is Dense
Either the egg whites weren’t properly incorporated, or the batter was overmixed. Next time, fold more gently and stop as soon as combined.
The Top Cracked
Some cracking is normal for sponge cakes. If it’s excessive, your oven may be too hot. Try reducing temperature by 25°F next time.
The Cake Tastes Too Sweet
Reduce the sweetener slightly next time. Different sweeteners have different sweetness levels—adjust to your taste.
The Cake Has an Aftertaste
Some sugar substitutes can have a cooling or artificial aftertaste. Experiment with different brands or blends to find one you like. Allulose and monk fruit blends tend to have the most neutral taste.
My Cake Stuck to the Pan
Parchment paper is your friend. Don’t skip it, even with a well-greased pan.
Delicious Variations
Once you’ve mastered the basic recipe, try these variations.
Lemon Sponge Cake
Add the zest of 2 lemons to the yolk mixture and 1 tablespoon lemon juice. The bright citrus flavor is wonderful.
Orange Sponge Cake
Add the zest of one orange and 1 tablespoon orange juice. Top with a simple sugar-free orange glaze.
Almond Sponge Cake
Replace ¼ cup of the flour with finely ground almond flour. Add ½ teaspoon almond extract along with the vanilla.
Chocolate Sponge Cake
Replace ¼ cup of the flour with unsweetened cocoa powder. Add an extra tablespoon of sweetener to balance the bitterness of the cocoa.
Marble Sponge Cake
Divide the batter in half. Add 2 tablespoons cocoa powder mixed with 2 tablespoons warm water to one half. Alternate spoonfuls of vanilla and chocolate batter in the pan, then swirl with a knife.
Berry Sponge Cake
Gently fold 1 cup fresh or frozen berries into the batter just before pouring into the pan. Raspberries or blueberries work beautifully.
Spiced Sponge Cake
Add 1 teaspoon cinnamon, ½ teaspoon nutmeg, and ¼ teaspoon cloves to the flour mixture. Perfect for fall and winter.
Coconut Sponge Cake
Replace ¼ cup of the flour with shredded unsweetened coconut. Add ½ teaspoon coconut extract.
What to Serve With Diabetic Sponge Cake
Fresh berries: Strawberries, raspberries, blueberries—their natural sweetness pairs perfectly.
Sugar-free whipped cream: Beat heavy cream with a little sweetener and vanilla until soft peaks form.
Sugar-free fruit compote: Simmer berries with a little sweetener and lemon juice until thickened.
Greek yogurt: A dollop of plain Greek yogurt adds protein and tang.
Sugar-free ice cream: For an extra special treat.
Coffee or tea: The classic pairing.
As a trifle base: Layer cubes of cake with sugar-free pudding and berries for a stunning dessert.
Storage and Make-Ahead Tips
Room temperature: Store in an airtight container at room temperature for up to 3 days. Sponge cake can dry out quickly, so keep it well sealed.
Refrigerator: Store in the refrigerator for up to a week. Bring to room temperature before serving for best texture.
Freezer: This cake freezes beautifully. Wrap tightly in plastic wrap, then foil, and freeze for up to 3 months. Thaw at room temperature.
Make-ahead for parties: Bake a day ahead and store at room temperature. Dust with sugar-free powdered sugar just before serving.
A Note on Sweeteners
Different sweeteners behave differently in baking. Here’s what I’ve learned through my grandmother’s experiments and my own:
Erythritol-based (Swerve): Measures cup-for-cup like sugar. Can have a slight cooling aftertaste. Works beautifully in this recipe.
Allulose: Browns more like sugar, caramelizes beautifully. Slightly less sweet than sugar—you may want to add an extra tablespoon or two.
Monk fruit blends: Usually mixed with erythritol or other sweeteners. Good all-purpose option.
Stevia blends: Can have a stronger aftertaste. Start with slightly less and adjust to taste.
Xylitol: Works well but is toxic to dogs. If you have pets, avoid xylitol entirely.
My grandmother’s preference: She loved erythritol-based sweeteners for their sugar-like measuring and baking properties. She’d say, “It’s not sugar, but it’s close enough for happiness.”
Why This Recipe Deserves a Permanent Place in Your Kitchen
This Diabetic Sponge Cake represents everything I love about family recipes. It’s not just a list of ingredients and instructions—it’s a story. It’s my grandmother’s determination to keep enjoying life’s simple pleasures despite dietary restrictions. It’s her love manifesting in the kitchen, adapting and persevering until she got it right.
Every time I make this cake, I think about her standing at her kitchen counter, whisk in hand, a smudge of flour on her cheek. I think about the joy on her face when she pulled a perfect golden cake from the oven. I think about the way she’d cut the first slice and hand it to me with a smile.
This cake has become a tradition in my own home. I make it for birthdays and holidays, for Sunday dinners and Tuesday afternoons. I make it when I want to feel close to her. I make it when I want to share a piece of my family history with friends.
And every single time, it delivers. Every single time, people are amazed that something so delicious can be diabetic-friendly. Every single time, I’m reminded that my grandmother’s wisdom extends far beyond the kitchen.
This recipe is proof that dietary restrictions don’t have to mean deprivation. It’s proof that with a little creativity and a lot of love, you can adapt and persevere and still enjoy life’s sweetness.
I hope this cake becomes a tradition in your kitchen too. I hope it brings you joy, comfort, and the knowledge that you deserve delicious food, no matter what your dietary needs.
And I hope that every time you make it, you think of all the grandmothers who adapted and persevered and kept feeding their families with love.
Have you made this Diabetic Sponge Cake? What sweetener did you use? I’d love to hear about your experience in the comments below!
More Recipes
-

Honey Garlic Baked Drumsticks: The Sticky, Crispy, Irresistible Dinner You’ll Make on Repeat
There are chicken recipes that are good, and then there are chicken recipes that are so easy, so flavorful, and so reliably delicious that they become a permanent fixture in your dinner rotation. Honey Garlic Baked Drumsticks fall squarely into the second category. Imagine juicy, tender chicken drumsticks with crispy, golden skin, coated in a…
-
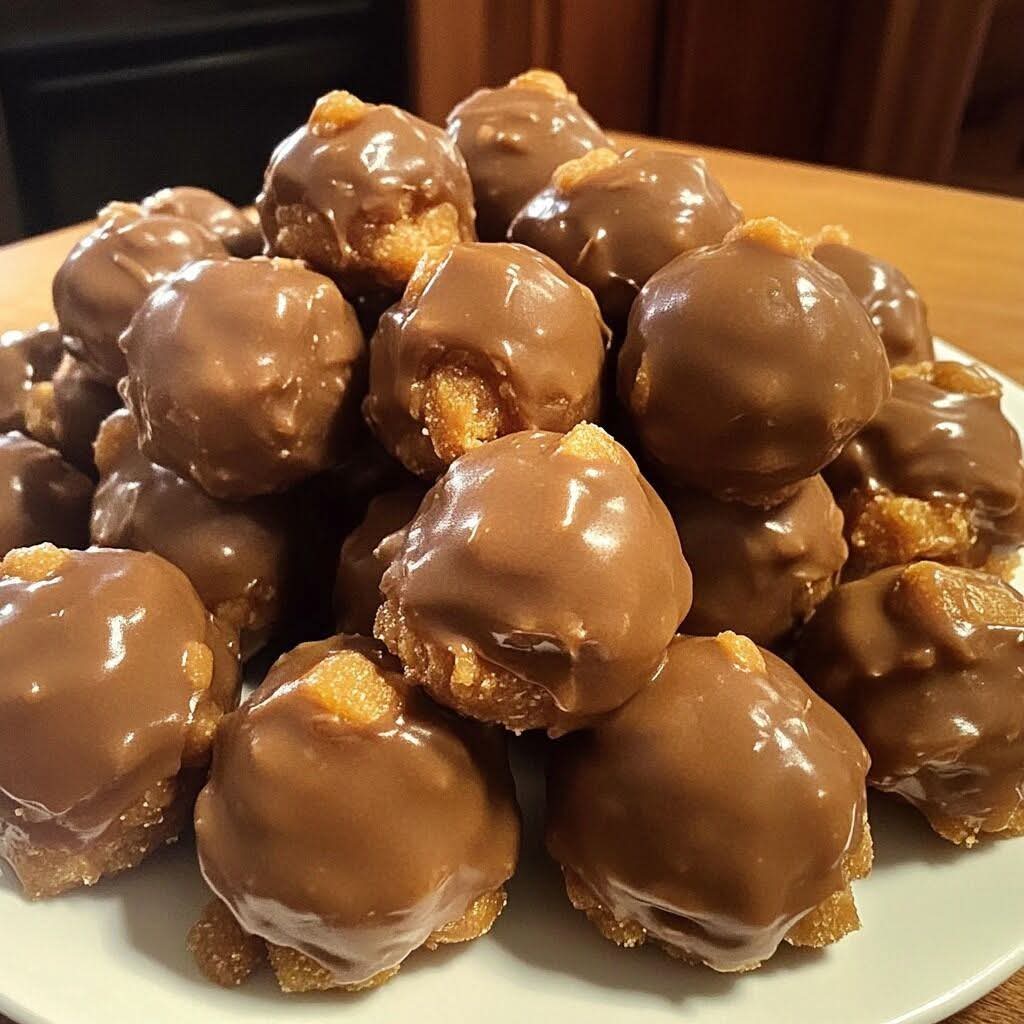
Butterfinger Balls: The Irresistible No‑Bake Candy That Tastes Like the Real Thing
If you are a fan of the iconic Butterfinger candy bar – with its crisp, peanut buttery, chocolate‑coated crunch – you are going to fall head over heels for these Butterfinger Balls. They capture everything you love about the original in a bite‑sized, no‑bake, homemade treat. Imagine a creamy, peanut buttery center studded with crunchy…
-
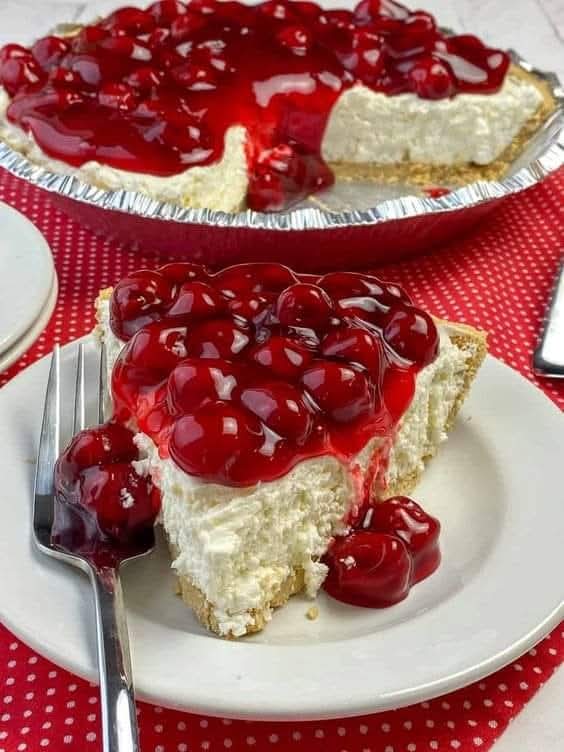
Easiest No‑Bake Cherry Cheesecake: Creamy, Dreamy, and Ready in 15 Minutes
There are cheesecakes that require water baths, careful temperature control, and hours of anxiety. And then there is this Easiest No‑Bake Cherry Cheesecake – a dessert that delivers all the rich, creamy, velvety goodness of a traditional cheesecake without ever turning on the oven. With a buttery graham cracker crust, a silky sweetened condensed milk…