
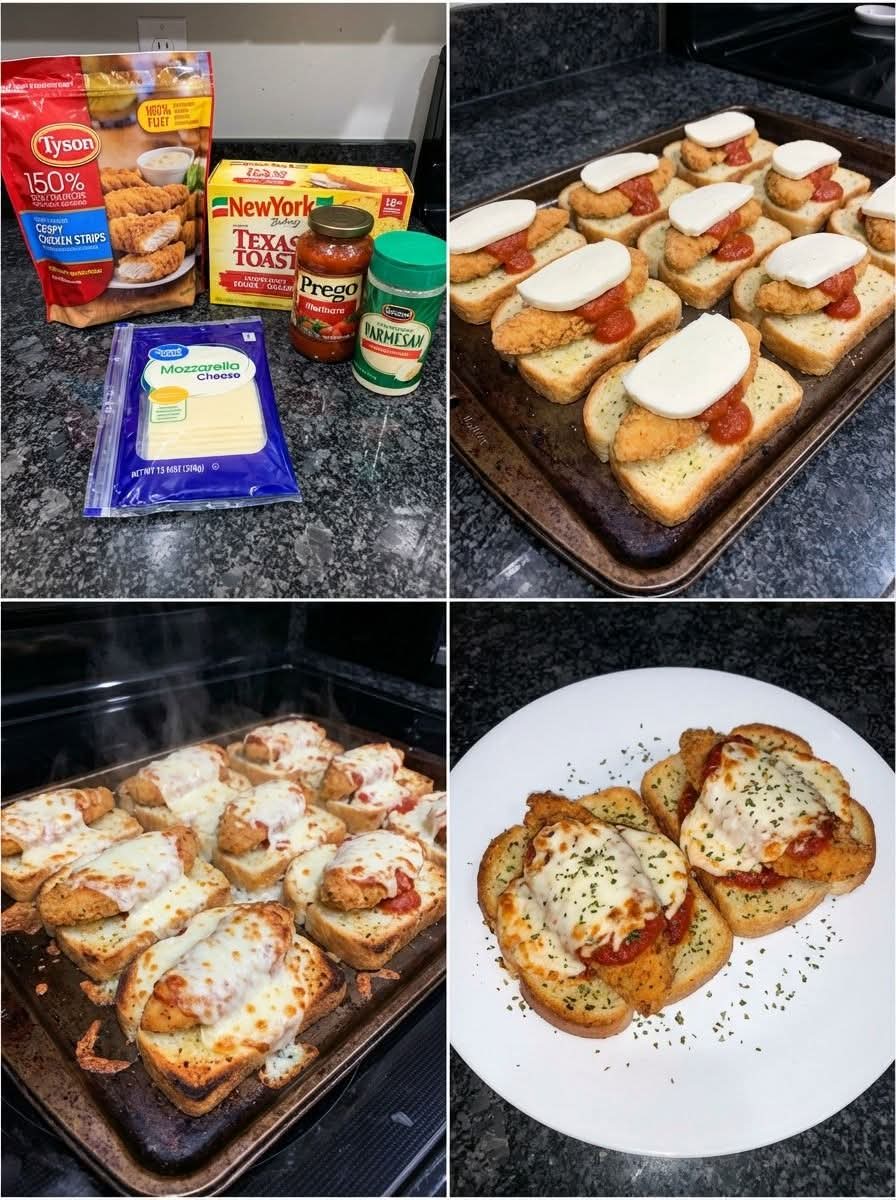
There are some food combinations that make so much sense, you can’t believe they haven’t always existed. Chicken Parmesan and garlic bread is one of them. Two beloved classics, each perfect on their own, but together? Together they create something transcendent.
Now imagine that glorious combination transformed into slider form. Crispy, golden chicken strips nestled into toasted garlic bread that’s been hollowed out just enough to cradle them perfectly. Topped with savory marinara, silky mozzarella, a flurry of Parmesan, and aromatic Italian herbs. Baked until bubbly and melted. Served hot, with extra marinara for dipping.
These Crispy Chicken Parm Garlic Bread Sliders are exactly that dream made real.
I stumbled onto this idea on a night when I had frozen chicken strips, a loaf of garlic bread, and a desperate craving for something more interesting than either alone. I figured I’d throw them together and hope for the best. What came out of the oven was so good that my family actually cheered. We stood around the kitchen island, grabbing sliders as fast as they cooled, dipping them in marinara, and planning when we could make them again.
Since then, these sliders have become my secret weapon for game days, movie nights, busy weeknights, and any time I need to feed a hungry crew with minimal effort but maximum deliciousness. They’re customizable, they’re crowd-pleasing, and they come together in under 30 minutes.
Today, I’m sharing everything you need to know to make these Crispy Chicken Parm Garlic Bread Sliders at home.
Why You’ll Love These Chicken Parm Sliders
The perfect flavor combination. Crispy chicken, garlicky bread, savory marinara, and melted cheese—it’s everything you love about chicken Parmesan, but handheld and even more delicious.
Incredibly easy. Frozen chicken strips and frozen garlic toast do most of the work. You’re looking at about 25 minutes from freezer to table.
Crowd-pleasing. I’ve never seen these last more than a few minutes at any gathering. They disappear fast.
Customizable. Use different chicken, different cheese, add extra toppings—make them your own.
Perfect for any occasion. Game day, movie night, busy weeknight dinner, party appetizer—these sliders fit everywhere.
Kid-approved. Kids love helping make these, and they love eating them even more.
Budget-friendly. Frozen ingredients keep costs low, and you can scale up or down based on your crowd.
Make-ahead friendly. Assemble them ahead and bake when ready.
The Complete Ingredient Breakdown
For the Sliders:
Frozen breaded chicken strips
This is your time-saving hero. Look for crispy, breaded chicken strips in the frozen section. Brands like Tyson, Purdue, or store brands all work great. You’ll need one chicken strip per slider, so plan accordingly.
Scaling up: Figure out how many sliders you need, then grab that many chicken strips. Each strip makes one perfect slider.
Cooking method: You can bake or air fry according to package directions. My chicken strips took 12 minutes per side in the oven at the recommended temperature.
For a homemade touch: If you have time, you can use homemade breaded chicken tenders. But frozen works beautifully here.
Frozen garlic toast
The base of these sliders. Look for frozen garlic bread slices or garlic toast in the freezer section. You’ll need one slice per slider.
Brand options: Texas Toast style garlic bread works perfectly—it’s thick, sturdy, and packed with garlic butter flavor.
Cooking method: Follow package directions, but time them to finish cooking alongside your chicken.
For the Toppings:
Marinara sauce
Use your favorite jarred marinara, or homemade if you have it. You’ll need about 1 tablespoon per slider, plus extra for serving.
Mozzarella cheese
Use sliced mozzarella for easy assembly. Fresh mozzarella slices work beautifully, or you can use deli-sliced mozzarella. Each slider gets one slice.
For extra cheesiness: You can also sprinkle shredded mozzarella on top.
Freshly grated Parmesan cheese
Adds salty, nutty depth. Freshly grated is best—avoid the canned stuff if possible.
Italian herbs
A sprinkle of dried Italian seasoning, oregano, or a blend adds that authentic Italian flavor.
For Serving:
Extra marinara sauce, warmed
For dipping. This is non-negotiable.
Fresh basil or parsley for garnish (optional)
Adds color and freshness.
Step-by-Step Instructions
Step 1: Cook the Chicken
Preheat your oven according to your chicken strip package directions (usually around 400-425°F).
Arrange your frozen breaded chicken strips on a baking sheet. Bake according to package directions. My strips needed 12 minutes per side, so I flipped them halfway through.
Note: Keep track of timing—you’ll be adding the garlic bread during the final stretch.
Step 2: Add the Garlic Bread
During the chicken’s final 12 minutes of cooking, arrange your frozen garlic toast slices on a separate baking sheet.
Slide them into the oven alongside the chicken. Bake according to package directions, usually 10-12 minutes, until golden and toasted.
Step 3: Create the Bread Bowls
Once the garlic toast is done, remove it from the oven. Let it cool just enough to handle.
Flip each slice over so the toasted side is down. Using the back of a spoon, gently press down in the center of each slice to create a slight well or “bread bowl.” This cozy little divot will cradle your chicken strip perfectly.
Step 4: Assemble the Sliders
Nestle one crispy chicken strip into each garlic bread bowl.
Spoon about 1 tablespoon of marinara sauce over each chicken strip.
Top each with a slice of mozzarella cheese.
Sprinkle generously with grated Parmesan and a pinch of Italian herbs.
Step 5: Final Bake
Return the assembled sliders to the oven (still at the same temperature) for 3-5 minutes, just until the cheese is melted, bubbly, and starting to brown.
If you want extra browning on the cheese, you can switch to broil for the last 1-2 minutes, watching carefully.
Step 6: Serve
Remove from the oven and let cool slightly.
Serve hot with warm marinara sauce for dipping.
Watch them disappear.
Timing Tips for Perfect Coordination
The key to these sliders is timing everything to come together at once. Here’s how I do it:
At 24 minutes before serving: Start cooking the chicken strips.
At 12 minutes before serving: Add the garlic bread to the oven. Flip the chicken if needed.
At 0 minutes: Both chicken and garlic bread are done. Assemble quickly while everything is hot.
At 3-5 minutes later: Sliders are back in the oven for the final melt.
Serve immediately.
This timing works perfectly for my oven and my preferred brands. Adjust based on your specific package directions.
The Science Behind Perfect Sliders
Creating the bread bowl: Pressing the center of the toasted garlic bread creates a slight well that holds the chicken strip in place and prevents it from sliding off. It also allows the toppings to nestle in rather than sliding off.
Final bake timing: Just 3-5 minutes is enough to melt the cheese and marry the flavors without overcooking the chicken or burning the bread.
Toasted base: Starting with toasted garlic bread ensures the bottom stays crispy rather than getting soggy from the sauce.
Marinara placement: Putting the sauce under the cheese protects it from drying out while still allowing the cheese to melt beautifully.
Troubleshooting Common Issues
My Garlic Bread Got Soggy
Either the sauce was too much, or the sliders sat too long before serving. Use about 1 tablespoon of sauce per slider and serve immediately after the final bake.
The Cheese Didn’t Melt
Give them another minute or two in the oven. If your oven runs cool, increase the final bake time to 5-7 minutes.
My Chicken Strips Are Too Big for the Bread
You can cut larger strips in half lengthwise to fit better, or use multiple smaller strips per slider. You can also look for “popcorn chicken” or smaller breaded chicken pieces.
The Sliders Are Falling Apart
Make sure you’re creating a good well in the bread to cradle the chicken. You can also secure them with toothpicks for serving.
Not Enough Flavor
Add extra Italian herbs, a sprinkle of red pepper flakes for heat, or a drizzle of garlic butter before the final bake.
I Want More Crunch
Use extra-crispy chicken strips and make sure your garlic bread is fully toasted before assembling.
Delicious Variations
Once you’ve mastered the basic recipe, try these variations.
Spicy Chicken Parm Sliders
Use spicy breaded chicken strips, add a sprinkle of red pepper flakes, and use pepper jack cheese instead of mozzarella.
Chicken Bacon Ranch Sliders
Replace marinara with ranch dressing, add cooked bacon crumbles, and use a blend of mozzarella and cheddar. Serve with extra ranch for dipping.
Eggplant Parm Sliders (Vegetarian)
Use breaded frozen eggplant cutlets instead of chicken. Follow the same assembly method.
Meatball Parm Sliders
Use frozen cooked meatballs (sliced in half) instead of chicken strips. You may need to adjust quantity to fit.
Buffalo Chicken Sliders
Toss the cooked chicken strips in buffalo sauce before assembling. Use ranch or blue cheese dressing for dipping instead of marinara.
Chicken Pesto Sliders
Spread a thin layer of pesto on the garlic bread before adding the chicken. Use provolone instead of mozzarella.
Supreme Pizza Sliders
Add sliced pepperoni, sautéed mushrooms, and bell peppers along with the chicken. Use a pizza sauce blend.
Breakfast Chicken Parm Sliders
Add a fried egg on top of the chicken before the cheese. Breakfast of champions.
What to Serve With Chicken Parm Sliders
Extra marinara: For dipping, always.
Caesar salad: A classic pairing that balances the richness.
French fries or potato wedges: Double up on the comfort food.
Roasted vegetables: For a slightly healthier option.
Coleslaw: The crunch and tang are perfect contrasts.
More sliders: Because one is never enough.
Cold drinks: Soda, beer, or your favorite beverage.
Storage and Make-Ahead Tips
Refrigerator: Store leftover sliders in an airtight container in the refrigerator for up to 3 days. Reheat in the oven or air fryer for best results.
Freezer: These sliders freeze reasonably well, though the bread may soften slightly. Wrap individually and freeze for up to 2 months. Reheat from frozen in a 375°F oven.
Make-ahead for parties: You can cook the chicken strips and garlic bread ahead of time, then assemble and do the final bake just before serving. Keep components separate until ready to finish.
Reheating: The best way to reheat is in a 350°F oven for 5-8 minutes until hot and the cheese is bubbly. The microwave works but will make the bread soft.
Why These Sliders Deserve a Place in Your Recipe Rotation
These Crispy Chicken Parm Garlic Bread Sliders represent everything I want in a quick meal or appetizer. They’re incredibly easy to make, using frozen ingredients that do most of the work. They’re endlessly customizable to suit any taste. They’re perfect for feeding a crowd. And they’re genuinely, consistently, undeniably delicious.
I’ve made these for Super Bowl parties where they were the first thing to disappear. I’ve made them for family dinners where everyone went back for seconds and thirds. I’ve made them for lazy weekends when I wanted something satisfying without spending hours in the kitchen.
Every single time, they deliver. Every single time, people ask for the recipe. Every single time, I’m reminded why this simple idea is so brilliant.
The combination of crispy chicken, garlicky bread, savory marinara, and melted cheese is pure comfort food magic. It’s chicken Parmesan reimagined for maximum convenience and minimum fuss.
This recipe has become a staple in my kitchen for good reason. It’s reliable, versatile, and always welcome at the table.
And now it can be that for you too.
So preheat that oven. Grab that frozen chicken. Find that garlic bread. And get ready to make the most irresistible, crowd-pleasing sliders you’ve ever created.
Your game day spread will never be the same.
Have you made these Chicken Parm Sliders? What variations did you try? I’d love to hear about your experience in the comments below!
More Recipes You Might Like
-
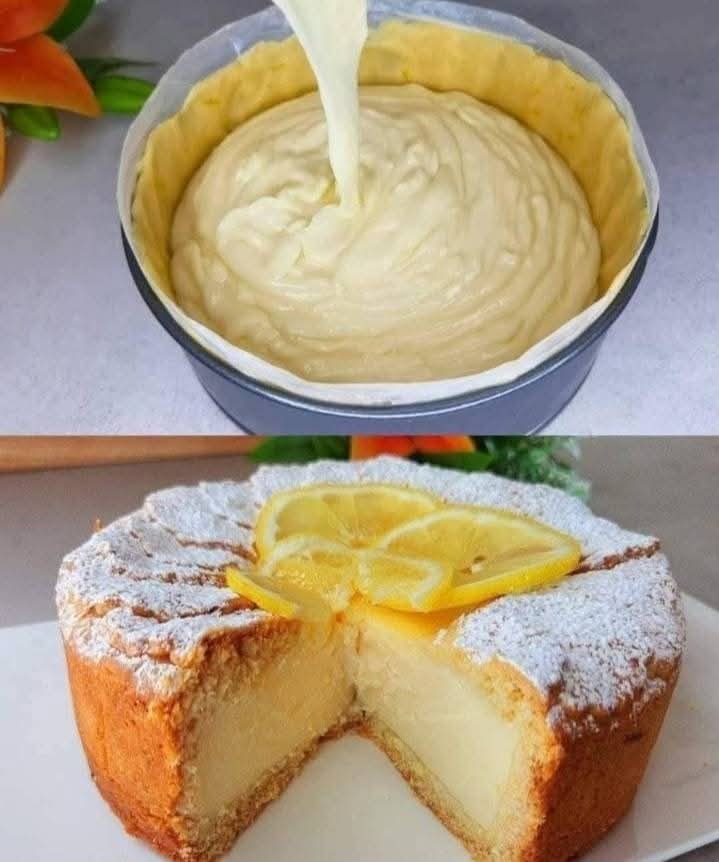
Italian Cloud Cake: The Most Loved Cake in Italy (You’ll Make It Every Week!)
Discover the magic of Italian Cloud Cake! This incredibly soft, buttery, lemon-scented cake lives up to its name—it’s light as a cloud. The most loved cake in Italy, and after one bite, you’ll understand why. Let me tell you about the cake that made me fall in love with Italian baking. I was wandering through…
-

DIY Aloe Vera Oil: The Natural Secret to Faster Hair Growth and Less Hair Loss
Learn how to make powerful aloe vera oil at home to combat hair fall and boost growth. We share 3 easy methods, pro tips, and the science behind why it works. Let me tell you about the moment I realized I needed to take my hair health into my own hands. After months of noticing…
-
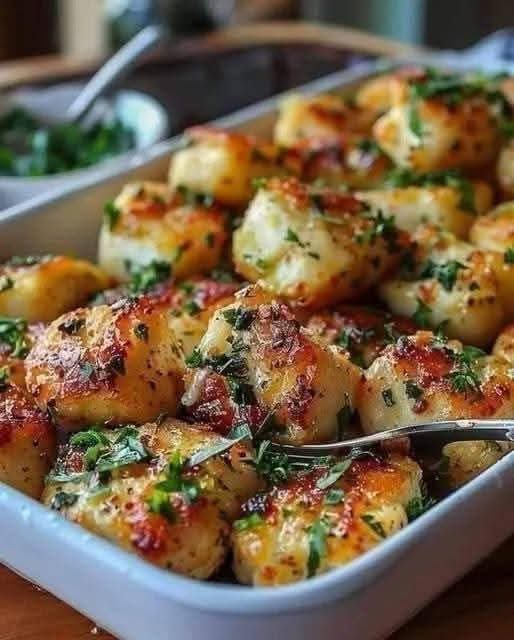
Lemon and Garlic Chicken Bites: The 15-Minute Dinner That Disappears Fast
Discover the magic of Lemon and Garlic Chicken Bites! Juicy, golden chicken pieces coated in a luscious lemon garlic butter sauce. Ready in just 15 minutes, perfect for busy weeknights or party appetizers. Let me tell you about the recipe that has saved me on more busy weeknights than I can count. It was one…