
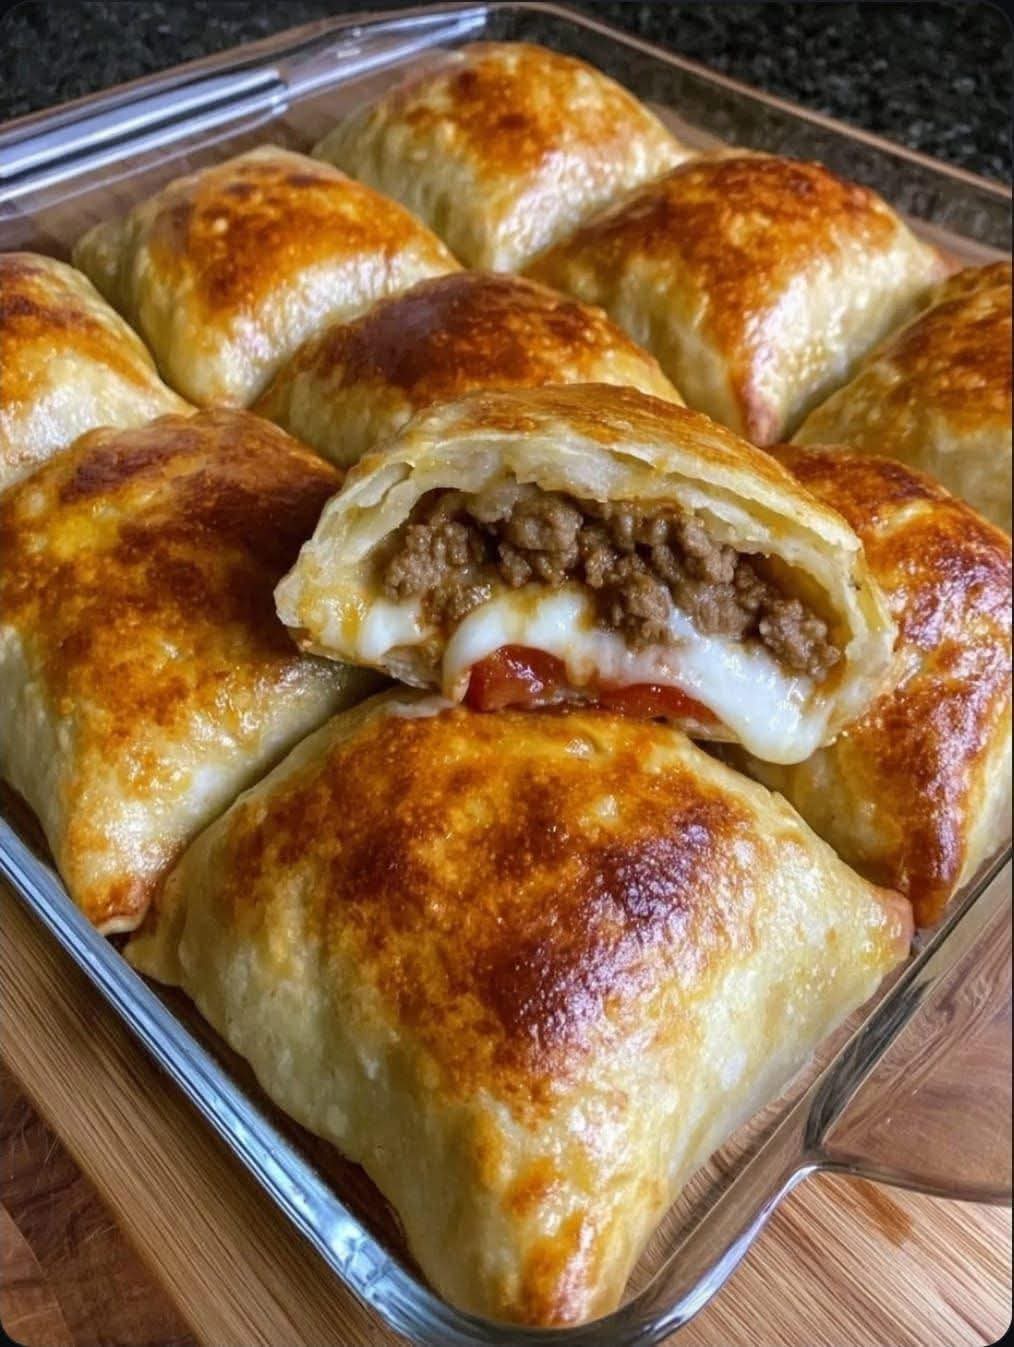
There are tacos that fall apart, and then there are Loaded Cheesy Pocket Tacos – the ingenious, mess‑free, handheld version that keeps every bit of seasoned beef, melted cheese, and zesty filling exactly where it belongs: inside a golden, crispy pocket. Imagine biting through a flaky, buttery dough into a hot, cheesy, savory center bursting with taco‑seasoned ground beef, melty cheddar, and a hint of jalapeño. These pocket tacos are the ultimate weeknight hero, after‑school snack, or party appetizer. They come together faster than you think, freeze beautifully, and disappear even faster. If you are searching for a loaded cheesy pocket tacos recipe that will have everyone asking for more, this is the one.
Whether you need a fun dinner for kids, a crowd‑pleasing appetizer for game day, or a portable lunch that actually stays together, these taco pockets deliver. Made with refrigerated biscuit dough or homemade dough, seasoned ground beef, a blend of cheeses, and your favorite taco toppings, they are endlessly customizable. This handheld taco recipe will become a family favorite.
In this complete guide, you will learn how to make loaded cheesy pocket tacos from scratch, including pro tips for the perfect crispy‑flaky crust, delicious variations (add beans, corn, or salsa), cooking methods (baked, fried, or air‑fried), storage and freezing instructions, and why these little pockets of joy are the best thing since the hard shell. Let’s get stuffing.
Why Loaded Cheesy Pocket Tacos Are a Game‑Changer
Traditional tacos are delicious but messy. Hard shells shatter; soft tortillas leak. Pocket tacos solve all of that. By enclosing the fillings in a sealed dough, you get a portable, dip‑able, completely contained meal. The dough can be anything from refrigerated biscuit dough (super easy) to homemade pie crust or even empanada dough. The filling is classic taco meat with plenty of cheese that melts into gooey perfection. Baked or fried, the outside turns golden and crispy while the inside stays hot and saucy. This is a cheesy beef pockets recipe that will revolutionize your taco nights.
Here is why you will love them:
Ready in under 30 minutes – Especially if you use pre‑made dough.
No mess, no crumbs – Everything stays inside the pocket.
Perfect for meal prep or freezing – Make a batch and reheat as needed.
Customizable fillings – Swap beef for chicken, beans, or veggies.
Kid‑friendly and adult‑approved – Everyone loves a hand pie.
Freezes beautifully – Stash in the freezer for emergency dinners.
Works as an appetizer, main course, or snack
Once you try these crispy taco pastries, you will never look at a regular taco the same way.
The Complete Loaded Cheesy Pocket Tacos Recipe
This recipe makes 8‑10 pocket tacos using a standard 8‑count tube of large biscuits. It can easily be doubled.
Ingredients – For the Filling:
1 lb (450g) lean ground beef (85/15 or 90/10)
1 packet (1 oz) taco seasoning (or homemade: 1 tbsp chili powder, 1 tsp cumin, 1 tsp paprika, ½ tsp garlic powder, ½ tsp onion powder, ¼ tsp cayenne)
⅓ cup (80ml) water
1 cup (4 oz / 113g) shredded cheddar cheese (or Mexican blend)
½ cup (2 oz / 56g) shredded Monterey Jack or pepper jack
¼ cup finely chopped green onions (optional)
¼ cup canned diced green chilies or pickled jalapeños (optional, for heat)
Ingredients – For the Dough:
1 can (16 oz / 454g) large refrigerated biscuits (8 count) – flaky or buttermilk style
OR homemade dough: 2 cups flour, 1 tbsp baking powder, 1 tsp salt, ¼ cup cold butter, ¾ cup milk
1 egg, beaten (for egg wash)
Optional toppings: sesame seeds, poppy seeds, or everything bagel seasoning
For Serving (Dips and Toppings):
Sour cream
Salsa or pico de gallo
Guacamole or sliced avocado
Hot sauce
Fresh cilantro
Shredded lettuce (serve on the side)
Equipment:
Large skillet
Rolling pin (for flattening biscuits)
Baking sheet lined with parchment paper
Fork (for sealing edges)
Pastry brush
Cooling rack
Step‑by‑Step Instructions
Step 1 – Cook the Taco Filling
Heat a large skillet over medium‑high heat. Add the ground beef and cook, breaking it up with a spatula, until browned and no longer pink, about 5‑7 minutes. Drain any excess fat. Add the taco seasoning and water, stirring to combine. Reduce heat to low and simmer for 3‑4 minutes until the liquid has mostly evaporated and the meat is coated in thick, flavorful sauce. Remove from heat and let cool for 5‑10 minutes – you do not want the filling to be piping hot when you fill the dough, as it can make the dough soggy and hard to seal.
Step 2 – Preheat and Prepare the Dough
Preheat your oven to 375°F (190°C). Line a baking sheet with parchment paper. Open the can of biscuits and separate them. On a lightly floured surface, roll each biscuit into a 5‑6 inch circle, about ⅛‑inch thick. If the dough springs back, let it rest for a minute then roll again. For homemade dough, roll out to similar thickness and cut into 5‑inch rounds.
Step 3 – Assemble the Pocket Tacos
Place about 2‑3 tablespoons of the cooled taco meat slightly off‑center on one half of each dough circle. Top with a generous pinch of shredded cheddar and Monterey Jack cheese, plus a sprinkle of green onions or jalapeños if desired. Do not overfill – too much filling will burst the pocket.
Fold the empty half of the dough over the filling to create a half‑moon shape. Press the edges firmly with your fingers to seal. Then, using a fork, crimp the edges all the way around to ensure a tight seal (this also creates a decorative edge). Poke a small vent hole in the top of each pocket with a knife or fork to allow steam to escape.
Step 4 – Egg Wash and Bake
Arrange the pocket tacos on the prepared baking sheet, leaving at least 1 inch between them. Brush the tops with beaten egg wash – this gives them a beautiful golden, shiny crust. Sprinkle with sesame seeds or everything bagel seasoning if desired.
Bake for 15‑18 minutes, until the pockets are deep golden brown and puffed. Remove from the oven and let cool on the baking sheet for 5 minutes before transferring to a wire rack.
Step 5 – Serve with Dips
Serve the loaded cheesy pocket tacos warm, with bowls of sour cream, salsa, guacamole, and hot sauce for dipping. They are delicious on their own or with a side of shredded lettuce and diced tomatoes.
Alternative Cooking Methods
Air Fryer Cheesy Pocket Tacos
Preheat air fryer to 350°F (175°C). Place assembled pockets in a single layer in the basket (you may need to cook in batches). Lightly spray or brush with oil or egg wash. Air fry for 8‑10 minutes, flipping halfway, until golden and crispy. The air fryer yields an extra‑crispy crust.
Fried Pocket Tacos (Extra Indulgent)
Heat 2 inches of vegetable oil in a deep skillet to 350°F. Carefully fry the pockets, 2‑3 at a time, for 1‑2 minutes per side, until deep golden brown. Drain on paper towels. This version is closer to an empanada and incredibly satisfying.
Make Ahead and Freeze for Later
Assemble the pockets (do not bake). Place them on a parchment‑lined baking sheet and freeze until solid, about 2 hours. Transfer to a freezer‑safe bag or container. Freeze for up to 2 months. To bake, place frozen pockets on a baking sheet, brush with egg wash, and bake at 375°F for 20‑22 minutes (no need to thaw).
Want the full truth and the practical next steps?
Page 2 continues with the real explanation, the key details many readers skip, and the simple takeaways that make this guide more useful.