
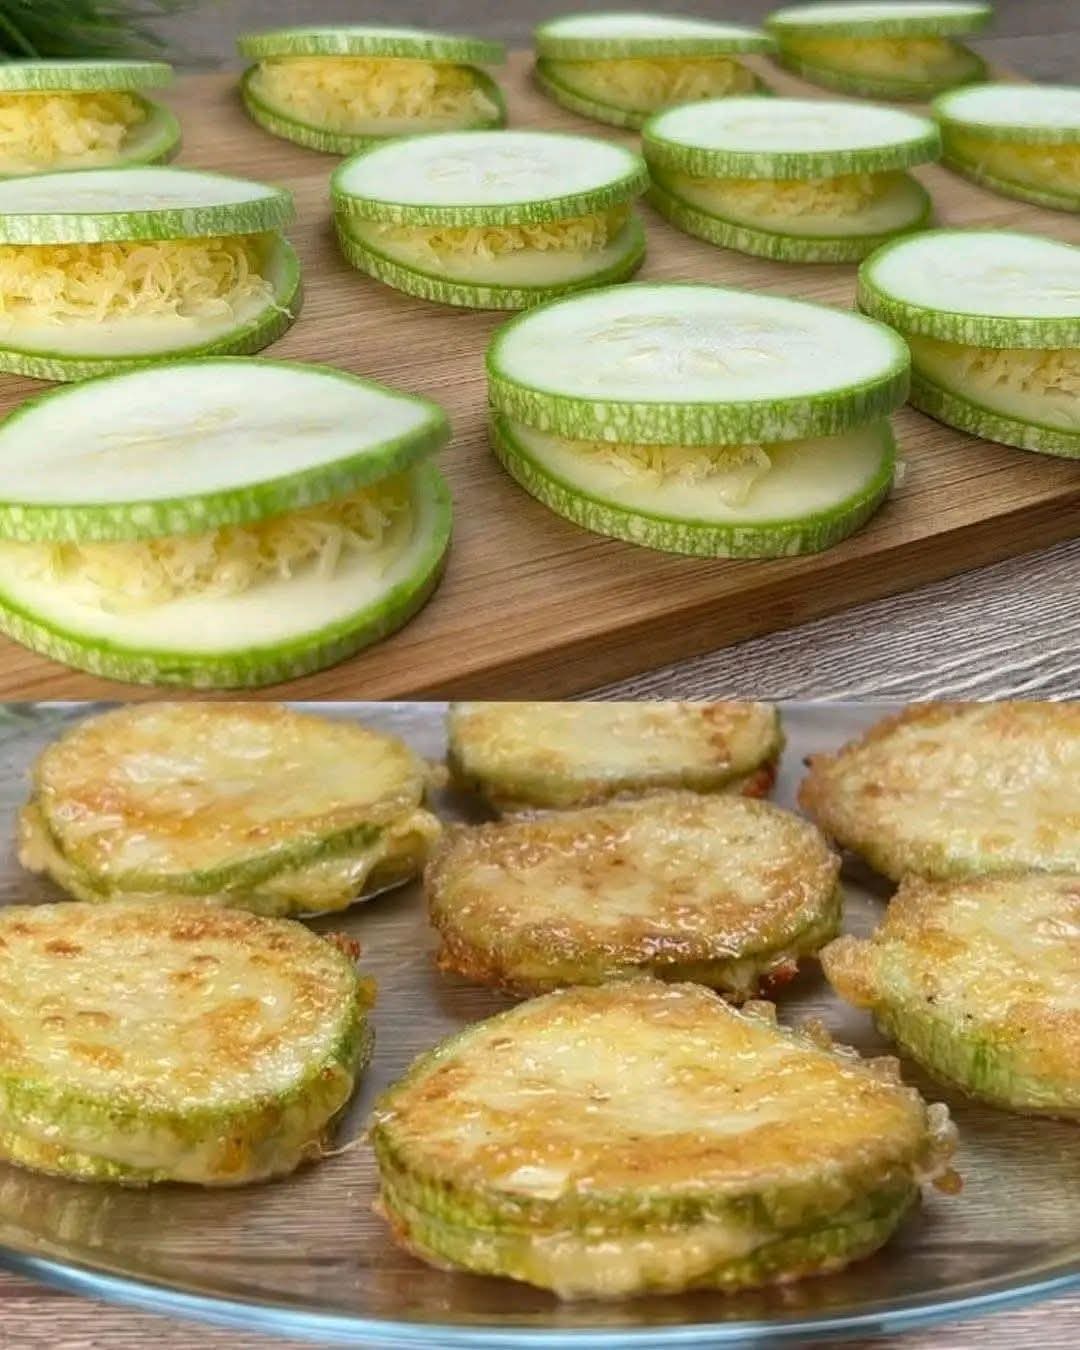
If you have a garden, you know the drill: zucchini season arrives, and suddenly you are drowning in green squash. You have made zucchini bread, grilled zucchini, sautéed zucchini, and even zucchini noodles. But have you tried Cheesy Scalloped Zucchini? This dish takes humble zucchini and transforms it into a rich, creamy, cheesy casserole that rivals classic scalloped potatoes – with a fraction of the carbs. Thinly sliced zucchini layered with a velvety cream sauce and topped with a golden, bubbly cheese crust. It is the ultimate low‑carb comfort food, and it is about to become your favorite way to use up that summer bounty.
In this guide, you will learn the complete recipe, pro tips for avoiding watery casserole, delicious variations (add bacon, tomatoes, or herbs), make‑ahead instructions, storage advice, and why this dish will steal the show at your next holiday dinner or weeknight meal.
Why Cheesy Scalloped Zucchini Is a Game‑Changer
Traditional scalloped potatoes are beloved but heavy – loaded with carbs and often swimming in heavy cream. Scalloped zucchini offers the same creamy, cheesy, satisfying experience with significantly fewer carbohydrates, making it perfect for low‑carb, keto, or simply lighter eating. The zucchini absorbs the flavors of the sauce without becoming mushy, and the cheese topping creates that irresistible golden crust.
Here is why you will love it:
· Low‑carb & keto‑friendly – Replaces potatoes with zucchini.
· Creamy, cheesy, and comforting – All the satisfaction of scalloped potatoes.
· Uses up garden zucchini – A delicious solution to summer abundance.
· Ready in under an hour – Faster than traditional scalloped potatoes.
· One dish – Minimal cleanup.
· Customizable – Add bacon, ham, or different cheeses.
· Crowd‑pleaser – Even picky eaters love cheesy zucchini.
Once you try this, you may never make scalloped potatoes again.
The Complete Cheesy Scalloped Zucchini Recipe
This recipe serves 6‑8 as a side dish. It bakes in a 9×13‑inch casserole dish.
Ingredients
For the Zucchini:
· 3 medium zucchini (about 2 lbs / 900g), sliced into ¼‑inch rounds
· 1 teaspoon salt (for sweating)
· ½ teaspoon black pepper
For the Creamy Cheese Sauce:
· 2 tablespoons unsalted butter
· 2 cloves garlic, minced
· 1 cup (240ml) heavy cream (or half‑and‑half for lighter)
· ½ cup (120ml) low‑sodium chicken or vegetable broth
· 1 cup (100g) freshly grated Parmesan cheese
· 1½ cups (150g) shredded sharp cheddar cheese (divided)
· ½ cup (50g) shredded mozzarella (optional, for extra gooeyness)
· ¼ teaspoon nutmeg (optional, adds warmth)
· Salt and pepper to taste
For the Topping (Optional):
· ¼ cup (25g) grated Parmesan
· 2 tablespoons chopped fresh parsley (for garnish)
Equipment
· 9×13‑inch baking dish
· Mandoline or sharp knife
· Large skillet
· Whisk
· Colander
Step‑by‑Step Instructions
Step 1 – Prepare the Zucchini (Prevent Watery Casserole)
Zucchini has high water content. If you skip this step, your casserole will be soupy. Here is the secret:
- Slice the zucchini into ¼‑inch rounds. A mandoline makes quick, uniform slices.
- Place the slices in a colander set over a bowl. Sprinkle with 1 teaspoon salt. Toss to coat.
- Let sit for 20‑30 minutes. Salt draws out excess moisture.
- After 30 minutes, rinse the zucchini thoroughly with cold water to remove excess salt.
- Pat dry with paper towels or a clean kitchen towel. Press firmly to remove as much water as possible.
Step 2 – Preheat and Prepare
Preheat your oven to 375°F (190°C). Grease a 9×13‑inch baking dish with butter or cooking spray.
Step 3 – Make the Creamy Cheese Sauce
- In a large skillet, melt the butter over medium heat. Add the minced garlic and cook for 1 minute until fragrant.
- Pour in the heavy cream and chicken broth. Whisk to combine. Bring to a gentle simmer (do not boil).
- Reduce heat to low. Gradually add the Parmesan cheese and 1 cup of the shredded cheddar cheese. Stir constantly until the cheese is melted and the sauce is smooth.
- Season with nutmeg, salt, and pepper to taste. The sauce will be thick but pourable.
Step 4 – Assemble the Casserole
- Arrange half of the zucchini slices in the bottom of the prepared baking dish, overlapping slightly.
- Pour half of the cheese sauce over the zucchini, spreading evenly.
- Sprinkle with half of the remaining cheddar cheese.
- Repeat with the remaining zucchini, remaining sauce, and remaining cheddar.
- Top with the optional mozzarella or extra Parmesan if desired.
Step 5 – Bake
Cover the dish with foil. Bake at 375°F for 20 minutes. Remove the foil and bake uncovered for another 15‑20 minutes, until the top is golden brown and bubbly and the zucchini is fork‑tender.
Step 6 – Rest and Serve
Let the casserole rest for 10 minutes before serving. This allows the sauce to set. Garnish with fresh parsley. Serve warm.
Pro Tips for the Best Scalloped Zucchini
Do Not Skip the Sweating Step
The salt treatment draws out excess moisture, preventing a watery casserole. If you are in a hurry, you can pat the zucchini slices very dry with paper towels, but the salt method is superior.
Slice Evenly
Uniform ¼‑inch slices ensure even cooking. A mandoline is ideal, but a sharp knife works.
Use Whole Milk or Cream
Low‑fat milk will make the sauce thinner and may curdle. For a lighter version, use half‑and‑half. For the richest result, use heavy cream.
Add a Crunchy Topping
For extra texture, mix ¼ cup of panko breadcrumbs (or crushed pork rinds for keto) with 2 tablespoons of melted butter and sprinkle over the cheese before the final bake.
Do Not Overbake
Zucchini can become mushy if overbaked. Check at 35 minutes total; the zucchini should be tender but still hold its shape.
Let It Rest
Resting allows the sauce to thicken and makes slicing easier. If you cut into it immediately, the casserole may be runny.
Want the full truth and the practical next steps?
Page 2 continues with the real explanation, the key details many readers skip, and the simple takeaways that make this guide more useful.