
There is something magical about spring cooking. The days get longer, the markets fill with bright green vegetables, and suddenly all you want is a dinner that tastes as fresh as the season feels. This Oven Baked Spring Pea Shell Pasta is exactly that dish — a creamy, cheesy, one‑pan wonder that turns frozen peas, dry pasta, and just a handful of pantry staples into a meal that feels like sunshine on a plate.
The method is almost too simple to believe. You scatter frozen green peas over raw dry shell pasta, add a few other ingredients, pour in a creamy liquid, cover, and bake. No boiling water. No separate pots. No standing over a stove. Just one ceramic baking dish and an oven.
The result? Tender pasta shells, sweet pops of green peas, a velvety sauce that soaks into every nook, and a golden, cheesy top that will have everyone fighting for the corner pieces.
In this guide, you will learn the complete recipe, why this method works so well, pro tips for perfect texture, delicious variations, and how to make this creamy spring pasta your new weeknight hero.
Why This Oven Baked Pasta Method Works So Well
You might be skeptical. Pasta baked from raw? Won’t it be crunchy or dry? The secret lies in the liquid ratio and the covered baking time. As the pasta bakes, it absorbs the cream, broth, and juices from the peas, swelling into perfectly tender shells. The frozen peas thaw and release their natural sweetness, and the cheese melts into a creamy, clinging sauce.
Here is why this recipe is a game‑changer:
· One dish – No boiling, no draining, no extra pots.
· No pre‑cooking pasta – The oven does all the work.
· Frozen peas are perfect – No need to thaw; they add moisture and sweetness.
· Creamy without being heavy – A balance of broth and cream creates a silky sauce.
· Customizable – Swap the protein, change the cheese, add more vegetables.
· Spring in a bite – Bright, fresh, and satisfying.
This is the kind of meal that feels special enough for a dinner party but easy enough for a busy Tuesday.
The Simple Ingredients (Fresh Flavor, Pantry Staples)
You only need a handful of ingredients to make this creamy pea shell pasta. Most are already in your kitchen.
Base Ingredients (Serves 4–6)
· 12 oz (340g) medium shell pasta (conchiglie), uncooked
· 2 cups frozen green peas (no need to thaw)
· 2 cups (480ml) low‑sodium chicken or vegetable broth
· 1 cup (240ml) heavy cream (or half‑and‑half for lighter version)
· 1½ cups (150g) freshly grated Parmesan cheese (divided)
· 2 tablespoons unsalted butter
· 2 cloves garlic, minced (optional but recommended)
· ½ teaspoon salt
· ¼ teaspoon black pepper
· ¼ teaspoon red pepper flakes (optional, for gentle heat)
For the Topping
· ½ cup (50g) additional Parmesan or mozzarella for a golden crust
· Fresh parsley or basil for garnish
Optional Add‑Ins (Same Method)
· 1 cup diced ham or cooked bacon – adds smoky saltiness
· 1 cup shredded rotisserie chicken – for extra protein
· ½ cup sun‑dried tomatoes – for tangy sweetness
· 1 cup fresh spinach – stirred in at the end
That is it. Pasta, peas, broth, cream, Parmesan, butter, garlic, and a few seasonings. The magic happens in the oven.
Step‑by‑Step Instructions (No Boiling Required)
Step 1 – Preheat and Prepare
Preheat your oven to 375°F (190°C). Lightly grease a 9×13‑inch ceramic or glass baking dish with butter or cooking spray. A deep dish works best because the liquid needs to cover the pasta.
Step 2 – Layer the Pasta and Peas
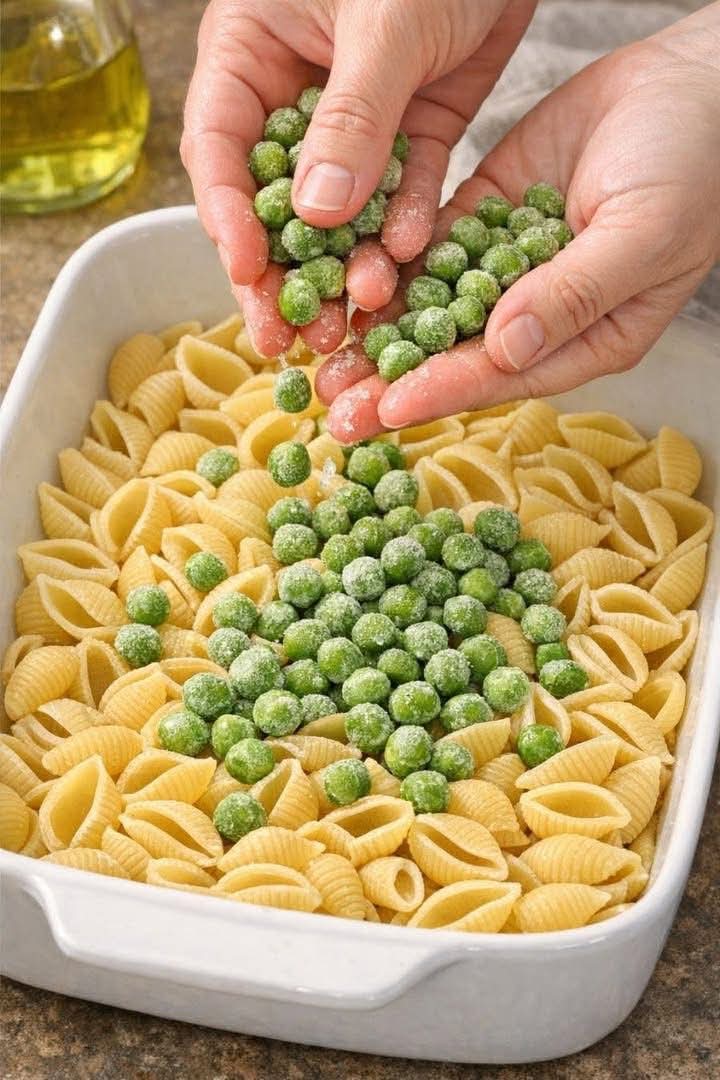
Pour the uncooked dry shell pasta directly into the baking dish. Spread it into an even layer. Scatter the frozen green peas over the pasta. They do not need to be thawed — the heat of the oven will take care of them.
Step 3 – Add the Flavor Base
Cut the butter into small pieces and dot it over the pasta and peas. Sprinkle the minced garlic (if using), salt, pepper, and red pepper flakes evenly over the top.
Step 4 – Pour the Liquid
In a separate bowl or large measuring cup, whisk together the chicken broth and heavy cream. Pour the mixture evenly over the pasta, making sure the liquid covers most of the pasta. Give the dish a gentle shake to settle everything.
Step 5 – Add the First Layer of Cheese
Sprinkle 1 cup of the grated Parmesan over the top. Do not stir it in — it will melt into the sauce as it bakes.
Step 6 – Cover and Bake
Cover the baking dish tightly with aluminum foil. Bake at 375°F for 30 minutes.
Step 7 – Uncover, Stir, and Top
Remove the foil carefully (steam will be hot). Stir the pasta gently to redistribute the peas and sauce. The pasta should be mostly tender but may still have a slight bite. If it looks dry, add a splash of warm broth or milk.
Sprinkle the remaining ½ cup of Parmesan (or the optional mozzarella) over the top. Do not stir.
Step 8 – Uncovered Finish
Return the dish to the oven, uncovered, and bake for another 10–15 minutes, until the liquid is mostly absorbed, the pasta is tender, and the top is golden and bubbly. For a deeply browned crust, switch to broil for the last 2–3 minutes, watching carefully.
Step 9 – Rest and Serve
Let the pasta rest for 5–10 minutes before serving. This allows the sauce to thicken and the flavors to meld. Garnish with fresh parsley or basil. Serve warm.
Pro Tips for Perfect Oven Baked Pasta
Use the Right Pasta Shape
Medium shells (conchiglie) are ideal because they trap the creamy sauce and peas inside their little cups. Other good options: orecchiette, cavatappi, or penne. Avoid long noodles like spaghetti.
Do Not Over‑Stir Early
Stirring too much before baking can break the delicate shells. A gentle shake after pouring the liquid is enough. Reserve stirring for after the covered bake.
Adjust Liquid for Your Oven
If your oven runs hot, check at 25 minutes covered. If the pasta is still very crunchy, add ¼ cup more broth and re‑cover for another 10 minutes. If it is too soupy after the final bake, leave the foil off for an extra 5–10 minutes.
For a Lighter Version
Replace heavy cream with half‑and‑half or whole milk. The sauce will be less rich but still creamy. You can also use all broth and add ½ cup of cream cheese for body.
Boost the Vegetable Factor
Add a handful of fresh spinach or arugula after the foil comes off. Stir gently; the residual heat will wilt the greens perfectly. You can also add sliced mushrooms or zucchini along with the peas.
Make It a Complete Meal
Add diced cooked ham, crumbled bacon, or shredded rotisserie chicken before baking. The protein soaks up the creamy sauce beautifully.
Want the full truth and the practical next steps?
Page 2 continues with the real explanation, the key details many readers skip, and the simple takeaways that make this guide more useful.