
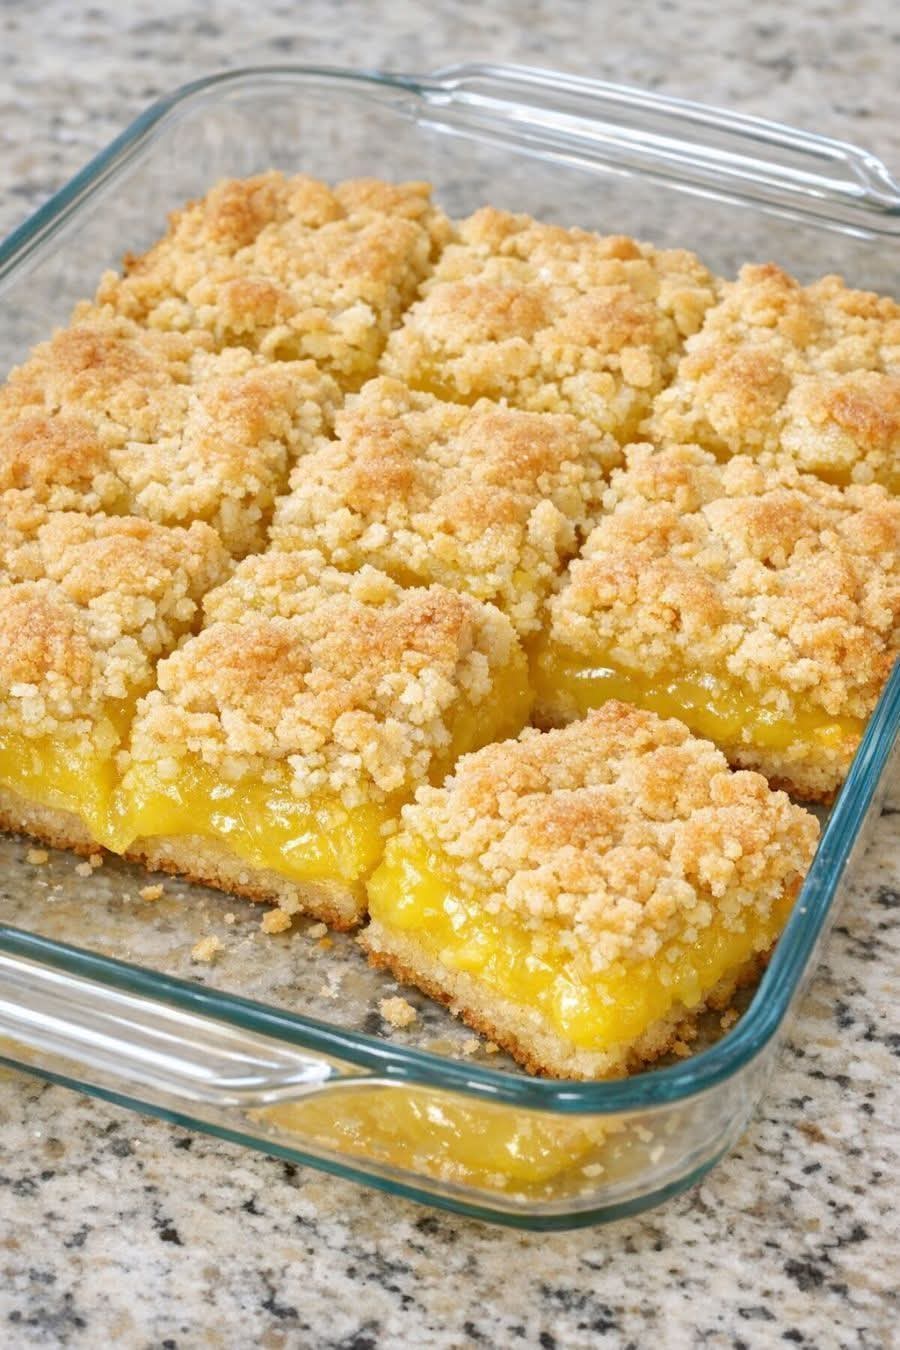
Discover the magic of 3‑ingredient lemon bars! Just a pre‑made crust, sweetened condensed milk, and fresh lemon juice create a tangy, creamy, irresistible dessert. Ready in under 30 minutes.
Let me tell you about the lemon bars that turned me into a believer in simple baking.
I love lemon desserts. The bright, tangy flavor, the creamy sweetness—it’s pure sunshine on a plate. But traditional lemon bars, while delicious, can be a project. You have to make a buttery crust from scratch, whisk egg yolks over a double boiler, and carefully bake until just set. It’s not complicated, but it’s not something you whip up on a whim.
Then I discovered a recipe that changed everything: 3‑ingredient lemon bars. Just a refrigerated pie crust, a can of sweetened condensed milk, and fresh lemon juice. That’s it. No creaming butter, no separating eggs, no waiting for the oven to preheat while you measure a dozen ingredients.
The first time I made them, I was skeptical. Could something so simple really taste like a proper lemon bar? The answer was a resounding yes. The crust turned golden and flaky, the filling set into a creamy, tangy layer that was pure bliss. They disappeared within hours, and everyone asked for the recipe.
In this guide, I’ll walk you through everything you need to know to make these incredibly easy lemon bars. From choosing the right crust to getting that perfect silky filling, you’ll find pro tips, variations, and answers to all your questions.
Why You’ll Love These 3‑Ingredient Lemon Bars
Just 3 Simple Ingredients
A pre‑made pie crust, a can of sweetened condensed milk, and fresh lemon juice. No eggs, no butter, no sugar—everything you need is already in your pantry.
Incredibly Easy
No mixer required, no complicated techniques. Mix, pour, bake, cool, and serve. Even beginner bakers can nail these.
Bright, Tangy Flavor
The combination of sweetened condensed milk and fresh lemon juice creates a creamy, citrusy filling that’s perfectly balanced—not too sweet, not too sour.
Make‑Ahead Friendly
These bars taste even better the next day, making them perfect for entertaining or meal prep.
Gluten‑Free Option
Use a gluten‑free pie crust, and you’ve got a dessert that fits a variety of dietary needs.
Endlessly Customizable
Add lemon zest, coconut, or a dusting of powdered sugar to make them your own.
Ingredients
Ingredient Amount Notes
Refrigerated pie crust 1 (9‑inch) Or a 9‑inch pre‑baked pie crust shell
Sweetened condensed milk 1 can (14 oz) Not evaporated milk
Fresh lemon juice ½ cup (about 3–4 lemons) Freshly squeezed; bottled won’t taste as bright
Ingredient Notes
Pie crust: Use a refrigerated rolled pie crust (like Pillsbury) or a pre‑baked 9‑inch pie crust shell. If using a rolled crust, you’ll need to fit it into a 9‑inch tart or pie pan.
Sweetened condensed milk: This is the secret to the creamy filling. Do not substitute evaporated milk—it won’t set properly.
Lemon juice: Freshly squeezed lemon juice is essential. Bottled juice lacks the bright, zesty flavor that makes these bars shine.
Step‑by‑Step Instructions
Step 1: Preheat and Prepare
Preheat your oven to 350°F (175°C) . If using a refrigerated rolled crust, gently unroll it and press it into a 9‑inch tart pan or pie plate. Trim any overhang and crimp the edges. Prick the bottom with a fork to prevent bubbling.
If using a pre‑baked pie crust shell, skip to Step 3.
Step 2: Pre‑bake the Crust (If Using Rolled Dough)
Bake the empty crust for 8–10 minutes, until lightly golden. This prevents a soggy bottom. Remove from oven and let cool slightly.
Step 3: Make the Filling
In a medium bowl, whisk together the sweetened condensed milk and fresh lemon juice until smooth and well combined. The mixture will thicken slightly as you stir—this is normal.
Step 4: Pour and Bake
Pour the filling into the pre‑baked crust. Spread it evenly with a spatula.
Bake for 12–15 minutes, until the edges are set and the center is slightly jiggly but not liquid. The filling will continue to set as it cools.
Step 5: Cool Completely
Let the lemon bars cool on a wire rack for at least 1 hour. For best results, refrigerate for 2–3 hours before slicing. This allows the filling to fully set.
Step 6: Slice and Serve
Cut into squares or wedges. Dust with powdered sugar if desired. Serve chilled or at room temperature.
Pro Tips for Perfect Lemon Bars
- Use Fresh Lemon Juice
Freshly squeezed lemon juice gives a bright, authentic flavor. Roll the lemons on the counter before juicing to release more juice.
- Don’t Overbake
The filling is done when the edges are set and the center is still slightly wobbly. Overbaking can cause cracks and a dry texture.
- Cool Completely
Patience is key. The filling needs time to set. If you slice too soon, it will be runny. Refrigerate for at least 2 hours for clean slices.
- Use a Sharp Knife
For neat slices, use a sharp knife and wipe it clean between cuts.
- Add Lemon Zest
For extra lemon flavor, add 1 teaspoon of lemon zest to the filling. It also makes a pretty garnish.
- Gluten‑Free Option
Use a gluten‑free pie crust (many brands offer refrigerated or frozen options). Ensure your sweetened condensed milk is gluten‑free (it usually is).
Delicious Variations
- Lemon Coconut Bars
Sprinkle ½ cup of sweetened shredded coconut over the filling before baking. The coconut adds texture and a tropical twist.
- Key Lime Bars
Substitute fresh lemon juice with fresh key lime juice. Add a teaspoon of lime zest for extra zing.
- Lemon Raspberry Bars
Before pouring the filling, scatter fresh raspberries over the pre‑baked crust. The tart raspberries pair beautifully with lemon.
- Salted Lemon Bars
Sprinkle a pinch of flaky sea salt on top just after baking. The salt enhances the sweetness and cuts through the richness.
- Lemon Curd Bars
For a richer version, add 1 egg yolk to the filling (this will still be 4 ingredients). The result is closer to traditional lemon curd.
- Vegan Lemon Bars
Use a vegan pie crust and a plant‑based sweetened condensed milk (like coconut condensed milk). The texture will be slightly different but still delicious.
- Mini Lemon Bars
Press the crust into a mini muffin tin, pre‑bake, and fill with the lemon mixture. Bake for 8–10 minutes for bite‑sized treats.
Serving Suggestions
· With a dusting of powdered sugar – the classic finishing touch.
· With fresh berries – serve alongside strawberries, raspberries, or blueberries.
· With whipped cream – a dollop of lightly sweetened whipped cream adds richness.
· With a cup of tea – the perfect afternoon pick‑me‑up.
· As a gift – pack squares in a pretty box for a thoughtful homemade present.
Storage and Make‑Ahead Tips
Refrigerator Storage
Store lemon bars in an airtight container in the refrigerator for up to 5 days. The texture will stay creamy and delicious.
Freezer Instructions
Wrap individual bars in plastic wrap and place in a freezer‑safe container. Freeze for up to 2 months. Thaw in the refrigerator before serving.
Make‑Ahead Timeline
· Up to 1 day ahead: Bake and cool completely, then refrigerate. Slice just before serving.
· Up to 2 months ahead: Freeze; thaw overnight in the refrigerator.
Frequently Asked Questions (FAQs)
Q: Can I use bottled lemon juice?
A: You can, but fresh lemon juice gives a brighter, more authentic flavor. Bottled juice often has a flat taste.
Q: Why is my filling runny?
A: It may not have baked long enough, or it was sliced before fully set. Bake until edges are firm and center is slightly jiggly, then cool completely and refrigerate.
Q: Can I use a different crust?
A: Absolutely. Shortbread crust, graham cracker crust, or even a gluten‑free crust work beautifully.
Q: Are these bars gluten‑free?
A: With a gluten‑free pie crust, yes. Sweetened condensed milk is naturally gluten‑free.
Q: Can I add eggs to make them richer?
A: Yes, adding one egg yolk to the filling creates a richer, more custard‑like texture. It will still be only 4 ingredients.
Q: How do I get clean, neat slices?
A: Use a sharp knife and wipe it clean between cuts. Chilling the bars for at least 2 hours before slicing helps.
Q: Can I make these in a 9×13 pan?
A: Yes, but you’ll need to adjust the crust and filling. For a 9×13 pan, use 2 pie crusts (or make a double crust) and double the filling. Bake time will be slightly longer (about 20–25 minutes).
Nutritional Information
Per serving (based on 8 servings)
Nutrient Amount
Calories ~280–320
Total Fat 10–12g
Saturated Fat 5–6g
Cholesterol 15–20mg
Sodium 180–220mg
Total Carbohydrates 44–48g
Dietary Fiber 0–1g
Sugars 32–36g
Protein 4–5g
Values are estimates and will vary with specific ingredients.
Conclusion
These 3‑ingredient lemon bars are proof that the best desserts don’t need a long list of ingredients or hours of work. With just a pre‑made crust, sweetened condensed milk, and fresh lemon juice, you can create a tangy, creamy, utterly irresistible treat that will have everyone asking for the recipe.
What I love most about this recipe is its simplicity. It’s the dessert I turn to when I need something quick and impressive, the treat I make when life is busy but I still want to enjoy something homemade. And because it’s so forgiving, it’s perfect for beginner bakers and seasoned pros alike.
Now it’s your turn! Will you keep it classic or try one of the variations? Share your creations in the comments below.
And if you’re looking for more easy dessert recipes, check out our guides for 3‑Ingredient Chocolate Mousse, No‑Bake Lemon Cheesecake, and Easy Fruit Tart.
Happy baking! 🍋✨
Did you make these 3‑ingredient lemon bars? We’d love to see your bright, sunny creations! Leave a comment below and share your photos. Don’t forget to pin this recipe for your next easy dessert.
More Recipes You Might Like
-
3 Ingredient Lemon Bars: The Easiest, Brightest Dessert You’ll Ever Make
Discover the magic of 3‑ingredient lemon bars! Just a pre‑made crust, sweetened condensed milk, and fresh lemon juice create a tangy, creamy, irresistible dessert. Ready in under 30 minutes. Let me tell you about the lemon bars that turned me into a believer in simple baking. I love lemon desserts. The bright, tangy flavor, the…
-

Blueberry Cream Cheese Danish: Flaky, Creamy, and Bursting with Berries
Discover the perfect blueberry cream cheese Danish recipe! Flaky puff pastry filled with tangy cream cheese, sweet blueberries, and a hint of lemon. Easy to make and absolutely irresistible. Let me introduce you to the pastry that looks like it came from a fancy bakery but comes together with just a few simple ingredients—Blueberry Cream…
-

Apple Cider Vinegar: What It Really Does for Your Skin, Wrinkles, and Fungus (And What It Doesn’t)
Does apple cider vinegar really erase wrinkles and cure fungus? We break down the real benefits, share a simple 2‑ingredient recipe, and separate fact from fiction. Safe, natural, and science‑backed. Let’s be honest: the claims on that viral image sound incredible. “Removes skin impurities. Cures foot fungus. Erases wrinkles and expression lines.” All with just…